- Category:
- Workflow Tips
- Summary:
- Unlock the Background layer click the lock icon in the Layers panel
How Do I Remove Background in Photoshop?
Quick answer — two clicks, one unlock.
Unlock the Background layer (click the lock icon in the Layers panel). Open the Properties panel (Window → Properties) and click Remove Background under Quick Actions. The AI detects the subject, creates a layer mask, and deletes the background instantly. Save as PNG (File → Export → Export As → PNG, tick Transparency) to keep the transparent background. Best results come from high-contrast images with a clear subject.
If the button is missing or greyed out, use the Discover panel (search icon in the toolbar) → Browse → Quick Actions → Remove Background. Both paths produce the same result.
How Do I Use the AI Remove Background Tool?
Adobe's AI-powered Remove Background tool is the fastest path to a clean cutout. It uses Subject Select to detect the foreground, builds a selection and a layer mask, then deletes the background layer — all in one click. You can access it through two entry points: the Discover panel and the Properties panel (or Contextual Task Bar). Both achieve the same result; choose whichever is more convenient for your workflow.
Tip: The AI tool works best with high-contrast images where the subject is clearly separated from the background. Images with busy patterns, low contrast, or very fine detail (hair, fur, glass) may need manual refinement after the quick action.
Using the Discover Panel
-
Unlock the Background layer — click the lock icon in the Layers panel, or drag the lock to the trash.
-
Open the Discover panel: click the search icon (magnifying glass) in the top-right toolbar, or go to Help → Photoshop Help.
-
In the Discover panel, click Browse → Quick Actions → Remove Background.
-
Photoshop processes the image and applies a layer mask. If the result needs tweaking, select the Brush tool (B) and paint with black or white on the layer mask to hide or reveal parts of the image.
-
Use the Revert option inside the Discover panel to undo and try again if the first pass misses too much.
The Discover panel provides a guided Quick Actions workflow for background removal.
Adobe's official documentation confirms this workflow and notes that the Discover panel also offers a revert option if the AI result needs a fresh start. View the official Adobe helpx guide →
Using the Properties Panel
-
Unlock the Background layer as described above.
-
Open the Properties panel (Window → Properties).
-
Under Quick Actions, click the Remove Background button.
-
Refine edges with the Brush tool on the auto-generated layer mask.
-
To replace the background: drag a new image onto the canvas, use Free Transform (Ctrl / Cmd + T) to size it, then drag the new image layer beneath the original subject layer in the Layers panel.
The same Remove Background button also appears in the Contextual Task Bar when a pixel layer is selected. This bar shows context-sensitive options at the bottom of the workspace. Adobe's product page details the Properties panel method →
What Are the Limitations of the AI Tool?
The AI Remove Background tool is fast, but it has hard limits you should know before relying on it for production work:
-
File size: Images larger than 40 MB will fail. Reduce file size or crop before using the tool.
-
Dimensions: Maximum supported dimensions are 8,000 × 8,000 pixels.
-
One at a time: The tool processes a single file per operation — no batch capability built in (see the batch section below for workarounds).
-
Smart Objects: The tool may be greyed out if the layer is a Smart Object. Convert to a raster layer first (Layer → Rasterize → Smart Object).
-
Low contrast: Images with poor separation between subject and background produce incomplete selections that require manual cleanup.
These specifications come directly from Adobe's official product page.
How to Remove Background with Manual Selection Tools
When the AI tool struggles — complex backgrounds, fine detail, or low-contrast edges — manual selection methods give you full control. All of the techniques below can be used non-destructively by applying a layer mask instead of deleting pixels. Save your work as a PSD to preserve editability.
Magic Wand for Solid Backgrounds
The Magic Wand is ideal for images with a solid-colour background (white, black, or a uniform colour). It selects contiguous pixels within a defined tolerance range.
-
Unlock the Background layer.
-
Select the Magic Wand tool (W). In the options bar, check Contiguous and set Tolerance to about 20.
-
Click on the background — the Magic Wand selects all similar pixels. Hold Shift and click additional areas if the background isn't fully covered.
-
Invert the selection: Select → Inverse (Shift + Ctrl / Cmd + I).
-
Clean up the selection edge: Select → Modify → Contract (1–3 pixels), then Select → Modify → Feather (1–3 pixels). These steps remove leftover background fringing.
-
Add a layer mask (the circle-in-a-square icon at the bottom of the Layers panel) to hide the background non-destructively.
The default Tolerance of ~20 and the Contract/Feather range of 1–3 pixels are recommended by community tutorials and work well for most solid-background images.
Watch out: If the background contains multiple colours or gradients, the Magic Wand will miss areas. Use the Color Range method instead (see below).
Quick Selection and Select Subject
The Quick Selection tool (W, then Shift+W to cycle) lets you "paint" a selection with a round brush. Photoshop detects edges as you drag. For a faster start, click Select Subject in the options bar — the same AI that powers Remove Background builds an initial selection.
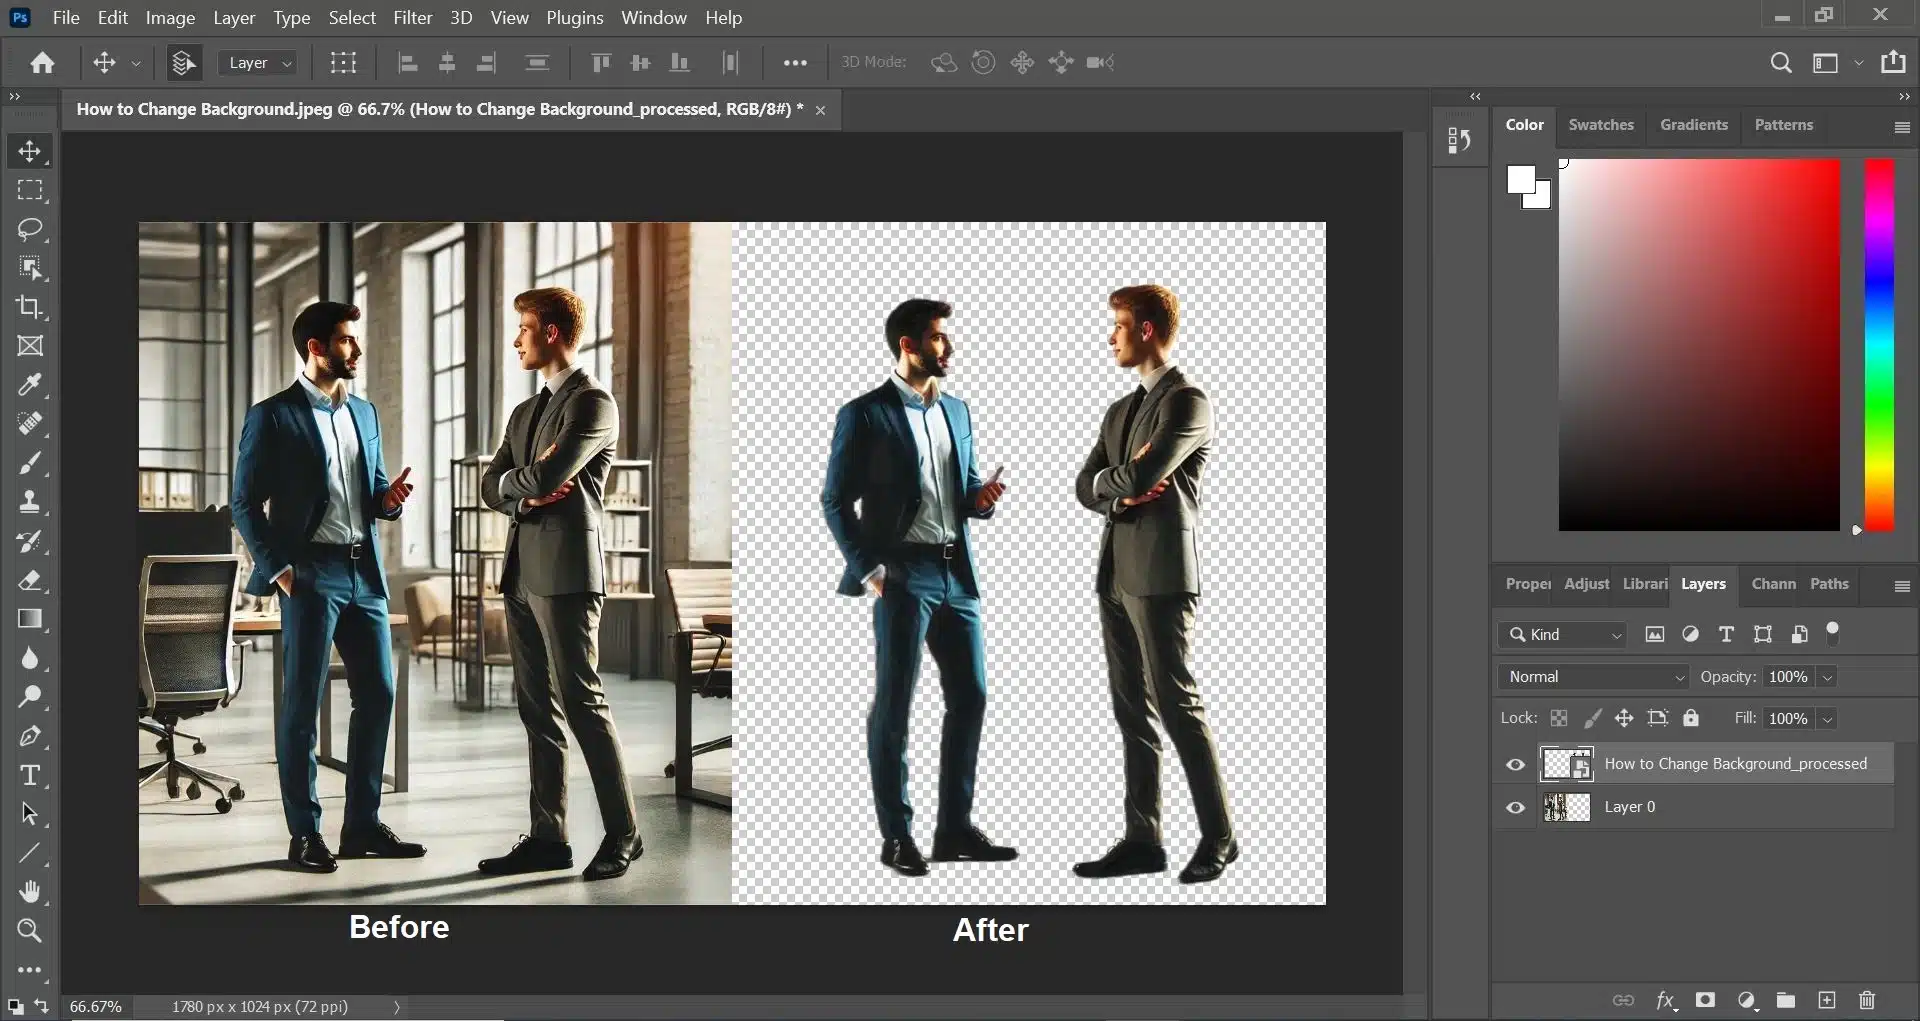
The Quick Selection tool combined with a layer mask produces clean, editable cutouts.
-
Unlock the Background layer.
-
Choose the Quick Selection tool. In the options bar, click Select Subject to let AI build the initial selection, or paint manually over your subject.
-
Invert the selection (Select → Inverse) and press Delete (or add a layer mask).
-
Save as PNG (File → Export → Export As → PNG, check Transparency) to retain the transparent background.
Reddit community members frequently recommend this workflow for its balance of speed and accuracy on moderately complex images.
Color Range for Complex Colours
When the background is a gradient, sky, or consists of multiple similar tones, Color Range often outperforms the Magic Wand. It selects all pixels within a colour range across the entire image.
-
Unlock the layer. Go to Select → Color Range.
-
Use the eyedropper to sample the background colour. Hold Shift to add more samples.
-
Adjust the Fuzziness slider to expand or contract the selected range. A value between 30 and 60 works for most gradients.
-
Click OK. Invert the selection (Select → Inverse) and add a layer mask.
This method is particularly effective for skies, sunsets, and evenly lit backdrops. Experienced users on Reddit recommend it as a go-to for complex colour backgrounds.
Polygon Lasso for Straight Edges
For subjects with straight edges — buildings, boxes, geometric objects — the Polygon Lasso tool (L, then shift to cycle) creates precise straight-line selections.
-
Select the Polygon Lasso tool.
-
Click at each corner point around your subject to build a closed selection.
-
Invert the selection (Select → Inverse) and delete or mask the background.
This technique is as old as Photoshop itself and works across every version with no AI dependency. It remains a reliable fallback when automated tools fail.
Why Does Photoshop Fail to Remove Background? (Troubleshooting)
Even experienced users run into problems. Below are the most common failures reported in Adobe Community forums and Quora, each with a direct fix.
AI Produces Incomplete Selections
A soccer coach reported on the Adobe Community that Remove Background worked perfectly before reinstalling Photoshop, then started leaving green areas unremoved on the same images. This kind of regression usually points to a corrupt preferences file or a GPU driver issue.
-
Reset preferences: Hold Ctrl+Alt+Shift (Windows) or Cmd+Option+Shift (macOS) while launching Photoshop. Confirm the reset dialog. This clears corrupt settings without losing your presets.
-
Update GPU drivers: Visit your GPU manufacturer's website (NVIDIA, AMD, or Intel) and install the latest driver.
-
Disable GPU acceleration temporarily: Go to Edit → Preferences → Performance and uncheck "Use Graphics Processor." Restart Photoshop and test the tool again.
See the original Adobe Community discussion →
Photoshop Crashes When Using Remove Background
Photoshop CC 2020 version 21.0.2 on Windows 10 has a known crash when using Remove Background or Select Subject, particularly with large files. Running Photoshop as an administrator helps for smaller images but doesn't fully resolve the issue for files above ~20 MB.
-
Reduce file size: Crop or downsample the image before running the tool.
-
Use manual selection tools (Magic Wand, Quick Selection) instead of the AI Quick Action.
-
Update Photoshop: Later versions (22.x and above) have fixed this crash. Check Creative Cloud Desktop for updates.
Read the full crash report on Adobe Community →
Pressing Delete Opens Fill Instead
A common frustration: you make a selection with Quick Selection, press Delete, and the Fill dialog appears instead of deleting the background. The cause is almost always a locked Background layer. The Background layer (the one with the lock icon and "(Background)" in its name) cannot have transparent pixels — pressing Delete triggers Fill as a fallback.
-
Fix: Unlock the layer by clicking the lock icon in the Layers panel. Then press Delete again — it will work as expected.
-
Alternative: Instead of deleting, add a layer mask. With the selection active, click the layer mask button at the bottom of the Layers panel. This is non-destructive and avoids the Fill issue entirely.
This Quora thread explains the root cause →
Quality Loss After Removal
Removing a background does not inherently reduce image quality — the damage comes from destructive edits (erasing pixels instead of masking them) and incorrect export settings. To preserve full quality:
-
Use non-destructive methods: Always work with layer masks (or clipping masks) instead of the Eraser tool. Masks hide pixels without destroying them.
-
Save as PSD: Keep a master PSD file with the layer mask intact. This preserves all editing flexibility.
-
Export correctly: For web use, go to File → Export → Export As → PNG-24 and check Transparency. For print, use TIFF with transparency or a layered PSD.
-
Scan at sufficient resolution: If you're working with scanned images, use 300 DPI minimum for high-quality output.
See the discussion on Quora about preserving quality →
Systematic Troubleshooting Checklist
When the Remove Background tool fails and you can't pinpoint the cause, run through this checklist in order:
-
Is the layer a Smart Object? → Rasterize it (Layer → Rasterize → Smart Object).
-
Is the image too large (>40 MB) or too wide (>8,000 px)? → Downsize or crop.
-
Restart Photoshop and try again.
-
Reset preferences (Ctrl+Alt+Shift on launch).
-
Update GPU drivers or disable GPU acceleration in Preferences → Performance.
-
Use Select and Mask manually after the Quick Action fails — open Select and Mask from the Select menu and refine the edge with the Refine Edge Brush.
Which Background Removal Method Should You Choose? (Comparison)
No single method works for every image. The table below compares the major approaches across speed, accuracy, and best-use scenarios so you can pick the right tool for each job.
| Method | Speed | Accuracy (Simple Bg) | Accuracy (Complex Bg) | Best For |
|---|---|---|---|---|
| AI Remove Background | Instant | Excellent | Good (with fix) | Quick edits, product shots |
| Quick Selection | Fast | Good | Fair | General use |
| Magic Wand | Medium | Good (solid colour) | Poor (busy bg) | Artwork on white |
| Pen Tool | Slow | Perfect | Perfect | Professional cutouts |
| Select and Mask | Medium | Very Good (hair) | Excellent | Hair, fur, fine detail |
When to Use Online Tools
For images with clear subjects and solid backgrounds, online remove-bg tools can deliver impressive results with zero setup. One Reddit user reported 95% success with web-based services like Remove.bg, only needing Photoshop for the remaining 5% of cases that involve complex edges or fine detail. See the Reddit discussion →
Workflow tip: Use an online tool for the first pass, then bring the result into Photoshop for manual refinement with Select and Mask. This hybrid approach saves time without sacrificing quality.
How to Perfectly Remove Background from Hair and Fur
Hair and fur are the hardest test for any background removal tool. The AI Remove Background tool often leaves jagged edges, halos, or clipped strands. Photoshop's Select and Mask workspace is designed specifically for this challenge.
Using Select and Mask with Refine Edge Brush
-
Run Remove Background via the Properties or Discover panel to create an initial layer mask.
-
With the masked layer selected, go to Select → Select and Mask (or click the "Select and Mask" button in the options bar when a selection tool is active).
-
In the Select and Mask workspace, choose the Refine Edge Brush (third icon from the left).
-
Paint over the flyaway hair strands. The brush detects edges and preserves the fine detail. Adjust brush size with the [ and ] keys.
-
Under Edge Detection, set Shift Edge to -5% (to pull the mask inward slightly) and Feather to 0.5 px.
-
Under Output Settings, choose Layer Mask and click OK.
Removing Color Halos with Decontaminate Colors
After the Refine Edge pass, you may still see a faint colour fringe (halo) around the hair — leftover background colour clinging to translucent edge pixels. In Select and Mask, enable Decontaminate Colors and set the Amount slider to 50–70%. This replaces the contaminated edge pixels with cleaner foreground colours.
For batch edge cleanup on multiple images, a plugin like Layerbench can apply a user-specified mask minimum radius (1–3 px) to reduce fringing across a whole folder of files. Its mask-shrink operation targets the same kind of halos that Decontaminate Colors handles, but in an automated, non-destructive way.
Note: Decontaminate Colors creates a new layer with the colour correction baked in. If you need to preserve the original pixels, work on a duplicate of the layer before enabling this option.
YouTube tutorials for Photoshop 2025 note that jagged edges and halos have become less frequent in recent versions, but the Refine Edge Brush workflow remains essential for professional-quality hair extraction. See the Photoshop Training Channel video for a visual walkthrough →
Can You Remove Background from Multiple Images at Once?
The AI Remove Background tool processes one file at a time, but you can automate repetitive background removal with Photoshop's Actions and Batch features. This is a common need for product photographers and e-commerce teams.
-
Record an Action: Open the Actions panel (Window → Actions). Click the New Action button, give it a name (e.g. "Remove Bg + Save PNG"), and click Record.
-
Perform the steps on a single image: unlock the layer, click Remove Background in the Properties panel, add a layer mask if needed, then go to File → Save a Copy and choose PNG with Transparency. Click Stop Recording.
-
Batch process: Go to File → Automate → Batch. Select your action from the Play dropdown, choose a source folder and a destination folder, and click OK. Photoshop processes every image in the folder.
-
Alternative — Image Processor Pro: Go to File → Scripts → Image Processor. You can select a custom action to run during conversion.
Tip: For extremely large batches (hundreds of images), consider a dedicated plugin like the Remove.bg Photoshop plugin, which offers bulk processing without the manual Action setup.
How Does Version Affect Background Removal?
Photoshop's background removal capabilities have evolved significantly across versions. Knowing what your version supports saves you from hunting for features that don't exist yet.
CS6 and Older — No AI No "Remove Background" quick action exists. Rely on Magic Wand, Quick Selection, Pen Tool, or Color Range. All manual, all effective with practice.
CC 2020 — Crash Workarounds Version 21.0.2 has a known crash with Remove Background and Select Subject on large files. Workaround: use manual tools or update to a newer version (22.x+).
iPad Photoshop — Limited Tap a layer → Quick Actions → Remove Background works on iPad. But there is no Refine Edge workspace and fewer manual tools. Switch to desktop for complex edges.
2025 / 2026 — Refined AI The AI tool has improved noticeably: jagged edges and halos are less frequent. The Discover panel is now the recommended entry point. Still use Select and Mask for hair.
The CC 2020 crash report is documented here →
What Free Alternatives Exist for Removing Background?
Photoshop requires a subscription (US$22.99/month for the Photography plan). The Remove Background feature is included — no extra cost beyond the subscription. But if you don't have a subscription, several free tools can handle the job:
-
Photopea — Browser-based editor with an interface strikingly similar to Photoshop. Supports layers, masks, and a "Remove Background" quick action. Free with ads.
-
Remove.bg — One-click web service. Fast and accurate for simple backgrounds (the Reddit user cited above reports ~95% success). The free preview is low resolution; high-res exports require payment.
-
GIMP — Open-source desktop editor. Its selection tools (Fuzzy Select, Scissors Select) mirror Photoshop's Magic Wand and Quick Selection. Steeper learning curve but fully free.
-
Paint.NET — Windows-only, lighter than GIMP, with a "Magic Wand" plugin for basic background removal.
For quick one-off jobs: Use Remove.bg or Photopea. For full control without a subscription: GIMP or Photopea are your best bets. The workflows you learn in Photoshop transfer directly to Photopea, making it a good stepping stone.
Where to Find Official Photoshop Help and Community Support
The three resources below cover different needs — from step-by-step tutorials to real-world troubleshooting. Bookmark the one that fits how you learn.
Adobe Official Documentation (helpx.adobe.com) Reliable, well-structured procedures for every feature. Best for learning standard workflows step by step. Limited troubleshooting depth. Visit helpx →
Adobe Product Page (adobe.com) Concise overview of the Remove Background feature, including file-size limits, version requirements, and a quick-start guide. Visit product page →
Adobe Community Forum (community.adobe.com) Real user reports — crashes, regressions, workarounds. The best place for diagnosing nuanced issues that official docs don't cover. Visit community forum →