- Category:
- Workflow Tips
- Summary:
- Which Inversion Method Should You Use in Your Workflow?
To invert a selection in Photoshop:
Ctrl+Shift+I · Cmd+Shift+I · or go to Select → Inverse
The marching ants swap from your current selection to everything outside it.
What Are the Quickest Ways to Invert a Selection in Photoshop?
Using the Menu Path
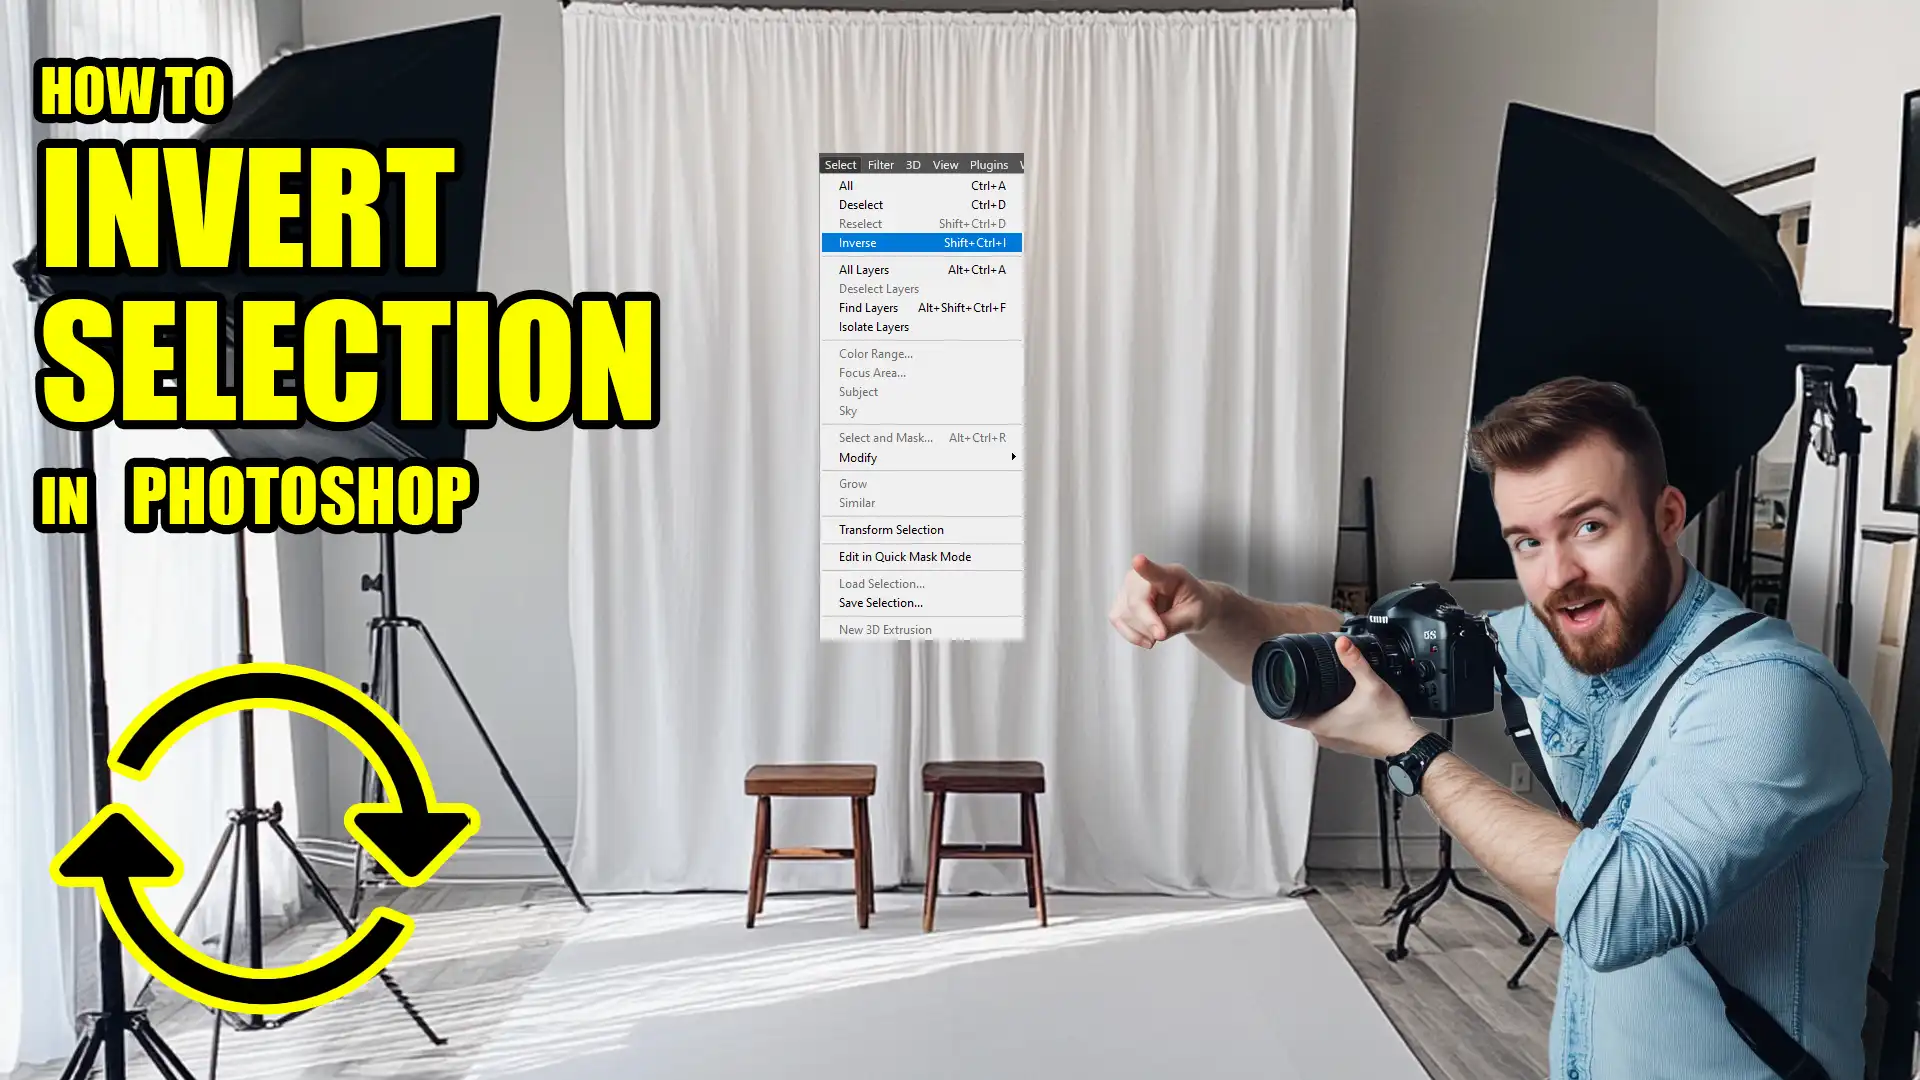
With an active selection on your canvas, go to the menu bar and choose Select → Inverse. The option stays greyed out until a selection exists — if you cannot click it, check that marching ants are visible. Adobe HelpX
Using the Keyboard Shortcut
The fastest method for repeated use: press Ctrl+Shift+I on Windows or Cmd+Shift+I on macOS. The shortcut toggles the selected region instantly. Same menu command, no clicking. Adobe HelpX
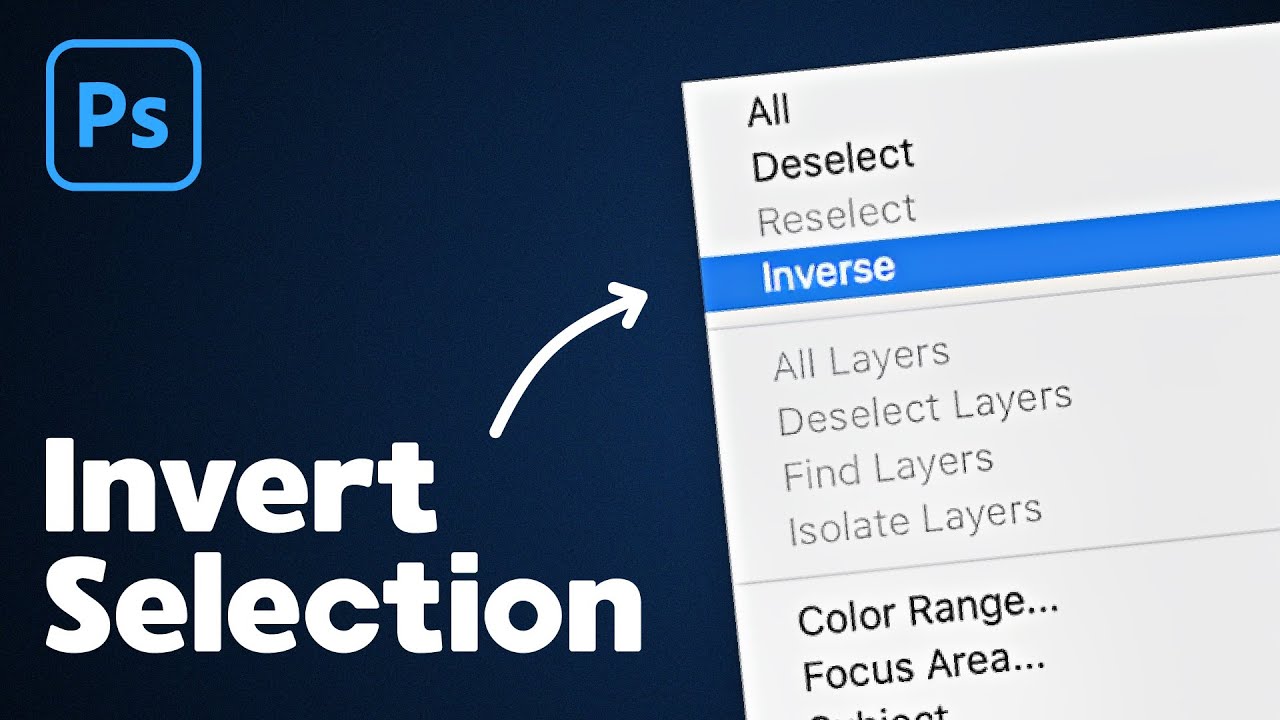
The Select → Inverse menu command. The marching ants swap from your current selection to the complementary area.
How to Invert a Selection with the Magic Wand Tool
The Magic Wand is one of the fastest ways to isolate a subject from a plain background. Instead of carefully tracing the subject, select the background first, then invert.
-
Choose the Magic Wand tool (press
W). -
Click on the background area. Adjust the Tolerance value in the Options bar (start at 20–30) if the selection bleeds into the subject.
-
Press
Ctrl+Shift+I(orCmd+Shift+Ion Mac) to invert the selection and isolate the foreground object.
This approach avoids manual masking of complex shapes and works well on evenly lit backgrounds. Adobe HelpX
Select the background with the Magic Wand, then invert to grab the subject in one step.
Why Does My Pen Tool Selection Invert Automatically?
The Path Operation Mode Setting
When you draw a path with the Pen Tool and convert it to a selection (Ctrl+Enter / Cmd+Return), the result can appear inverted — everything outside your path becomes selected. This happens because the path operation mode in the Options bar is set to something other than "Combine Shapes." Reddit r/photoshop
How to Fix It: Set to "Combine Shapes"
With the Pen Tool active, look at the left end of the Options bar. You will see a row of overlapping square icons. Click the icon and choose "Combine Shapes" (the first option). Now convert the path to a selection — the result will match the area you drew, not its inverse.
✓ Confirmed fix: This single setting has resolved the auto-invert issue for users across multiple Photoshop versions from 2019 through 2026. Over 18 commenters on the same Reddit thread reported it worked for them. Reddit thread
Evidence That This Fix Works
The same Reddit post has collected ongoing confirmations for more than six years. Users running Photoshop CC 2020 through 2025 have all reported that switching to "Combine Shapes" eliminated the inverted selection. The thread remains active as of 2026, with new commenters still finding the solution there. 18+ confirmations
Why Isn't the Ctrl+Shift+I Shortcut Working?
Third-Party Software Conflicts
Some antivirus tools (notably Webroot), screen-capture utilities, and GPU overlay software can intercept Ctrl+Shift+I before Photoshop receives it. If the shortcut was working previously and stopped after installing new software, disable overlays or reconfigure the conflicting program's hotkeys. Adobe Community
Windows Sticky Keys Interference
Windows' Sticky Keys accessibility feature can capture Ctrl+Shift combinations. Go to Settings → Accessibility → Keyboard and turn Sticky Keys off, or uncheck "Use Sticky Keys." Restart Photoshop and test again. Reddit r/photoshop
Version-Specific Bugs (Photoshop 21.2.2)
A known bug in Photoshop version 21.2.2 caused Shift+Ctrl+I to fail entirely while the menu path (Select → Inverse) continued to work. If you are on this version, use the menu as a temporary workaround. Updating to a later build resolves the issue. Adobe Community
Verify the Shortcut Still Exists
Go to Edit → Keyboard Shortcuts (or press Alt+Shift+Ctrl+K / Opt+Shift+Cmd+K), search for "Inverse Selection," and confirm the mapping is still Ctrl+Shift+I. Custom keyboard layouts or shared Photoshop preference files can sometimes overwrite it.
⚠ Common confusion: Do not confuse
Ctrl+I(Invert Adjustment — inverts colours) withCtrl+Shift+I(Invert Selection — swaps which pixels are selected). The two shortcuts do completely different things. See the next section.
What's the Difference Between Invert Selection and Invert Adjustment?
The Shortcut Difference: Ctrl+Shift+I vs Ctrl+I
This is the most common source of confusion among Photoshop users. Ctrl+Shift+I (Cmd+Shift+I on Mac) inverts which pixels are selected — it swaps the selection boundary. Ctrl+I (Cmd+I) applies an Invert adjustment that turns colours and brightness into their opposites within the selected area (or the entire layer if nothing is selected). Adobe Community
Real-World Example: Mask Gone Black
A user working on a layer mask with a white selection area pressed Ctrl+I expecting the selection to swap. Instead, only the white part of the mask turned black, leaving an all-black screen. The post describing this issue has received 16,886 views — evidence of how frequently this trips up experienced users. 16,886 views
Comparison Table
| Action | Shortcut | What It Does | When to Use |
|---|---|---|---|
| Invert Selection | Ctrl+Shift+I / Cmd+Shift+I |
Swaps the selected and unselected areas (marching ants move) | Before deleting, masking, or filling the opposite region |
| Invert Adjustment | Ctrl+I / Cmd+I |
Inverts colours/luminosity of the selection or layer | Creative colour reversals, negative effects, or tonal inversion |
Which Inversion Method Should You Use in Your Workflow?
Different situations call for different approaches. Here is a quick decision guide based on what you are trying to do:
-
Subject from plain background — Use the Magic Wand to click the background, then press
Ctrl+Shift+Ito select the subject. Fast and edge-friendly on clean backgrounds. -
Precise path with Pen Tool — Before converting your path to a selection, set the path operation mode to "Combine Shapes" in the Options bar. Otherwise the selection inverts automatically.
-
Shortcut does nothing — Check for third-party overlays (antivirus, GPU tools) and turn off Windows Sticky Keys. On Photoshop 21.2.2, use the menu as a fallback.
-
Working on a layer mask — Press
Ctrl+Shift+Ito change which areas of the mask are active, then fill with black or white. Do not pressCtrl+I— that inverts the mask content itself. -
Unsure if the shortcut is mapped — Open Edit → Keyboard Shortcuts and search for "Inverse Selection." Verify the assigned keys match
Ctrl+Shift+I/Cmd+Shift+I. -
Prefer a one-click cutout — Tools like Layerbench automate subject selection, masking, and transparent PNG export — a faster route when you work with many cutouts.
All external links open in a new tab. Adobe product screenshots and documentation are © Adobe Inc.