
- Category:
- Workflow Tips
- Summary:
- Quick Export Is the Fastest Option but Lacks Transparency Control
The short answer: Use File > Export > Export As and set Format to PNG for full control. For a one-click export, choose File > Export > Quick Export as PNG. If the Save As dialog no longer shows PNG (a known change in Photoshop CC 2022+), enable Legacy Save As in Preferences or rely on Export As. This article compares each method, covers the disappeared PNG option, and fixes white-background issues.
- Why PNG Disappeared
- Export As
- Quick Export
- Save As & Legacy
- Decision Framework
- White Background Fix
- Artboard Bug
Why the PNG Option Disappeared from Save As in Photoshop
Starting with Photoshop CC 2022+, the standard Save As dialog changed and no longer lists PNG as a format for many document types. This shift, widely reported on Reddit's r/photoshop community, has caused confusion among users who relied on the older workflow.
Some users report that Save As still shows PNG when the image is flattened (no layers). However, for layered documents — the default workflow for most designers — the option is absent. Adobe made this change to encourage the use of Export As, which provides finer control over compression, transparency, and colour space.
🔧 The fix: Use Export As (File > Export > Export As) — the method Adobe officially recommends. Or enable Legacy Save As via Preferences > File Handling to restore the classic dialog (see the Save As section below). If you're unsure which version you're on, check under Photoshop > About Photoshop — the change is consistent across all CC 2022+ releases.
Export As Is the Most Reliable Method for Saving PNGs

The Export As dialog gives you full control over PNG format, transparency, and file size.
Export As is Adobe's recommended path for saving PNGs and works with all RGB documents, including layered files, Smart Objects, and 16-bit images. Here's the workflow:
-
Go to File > Export > Export As — this opens the export dialog.
-
Set Format to PNG — you'll find it in the dropdown under the preview area.
-
Check Transparency — this preserves the alpha channel. Without it, transparent areas are filled with white.
-
Optionally check "Smaller File (8-bit)" — this produces a PNG-8 with a limited colour palette (up to 256 colours), reducing file size while keeping hard edges sharp. Leave it unchecked for PNG-24 with full colour and smooth gradients.
-
Choose a colour profile — sRGB is the safest choice for web; "Convert to sRGB" is checked by default. If you need to preserve a wider gamut (e.g. Adobe RGB for print), uncheck it.
-
Click Export — name your file and choose a destination.
This method supports both PNG-24 (full colour, alpha transparency) and PNG-8 (indexed colour, 1-bit transparency). It's the best option for logos, screenshots, web graphics, and any asset that needs a transparent background.
For more detail on the options, see the Noble Desktop guide on exporting PNGs and GIFs and the Shotkit walkthrough of the Export As workflow.

The File > Export menu path on a standard RGB document.
Quick Export Is the Fastest Option but Lacks Transparency Control
When speed matters more than configuration, Quick Export as PNG exports your image with a single click using your last-used Export As settings.
Desktop (Windows & macOS)
Go to File > Export > Quick Export as PNG. Photoshop immediately saves the file to your chosen output folder with the current document name. There is no dialog — the export uses the same transparency, colour profile, and 8-bit/24-bit setting you last set in Export As. If you haven't used Export As before, the default is PNG-24 with transparency enabled.
⚠️ Important: Because Quick Export reuses prior settings, it will not warn you if transparency is off. Always verify that your background layer is hidden or deleted before using Quick Export for a transparent PNG. If the Transparency checkbox was unchecked in your last Export As session, the quick export will produce a white background.
Mobile (iPhone & Android)
According to Adobe's mobile documentation, the workflow differs by platform:
- iPhone: Open your project, tap the Share icon, then select Quick export as PNG.
- Android: From the Photoshop home screen, choose Create new, make your edits, then tap Share and select PNG.
Quick Export is ideal for draft exports and rapid iteration, but for professional work where you need guaranteed transparency or specific compression, use the full Export As dialog.
Save As Still Works in Some Cases — or Enable Legacy Mode
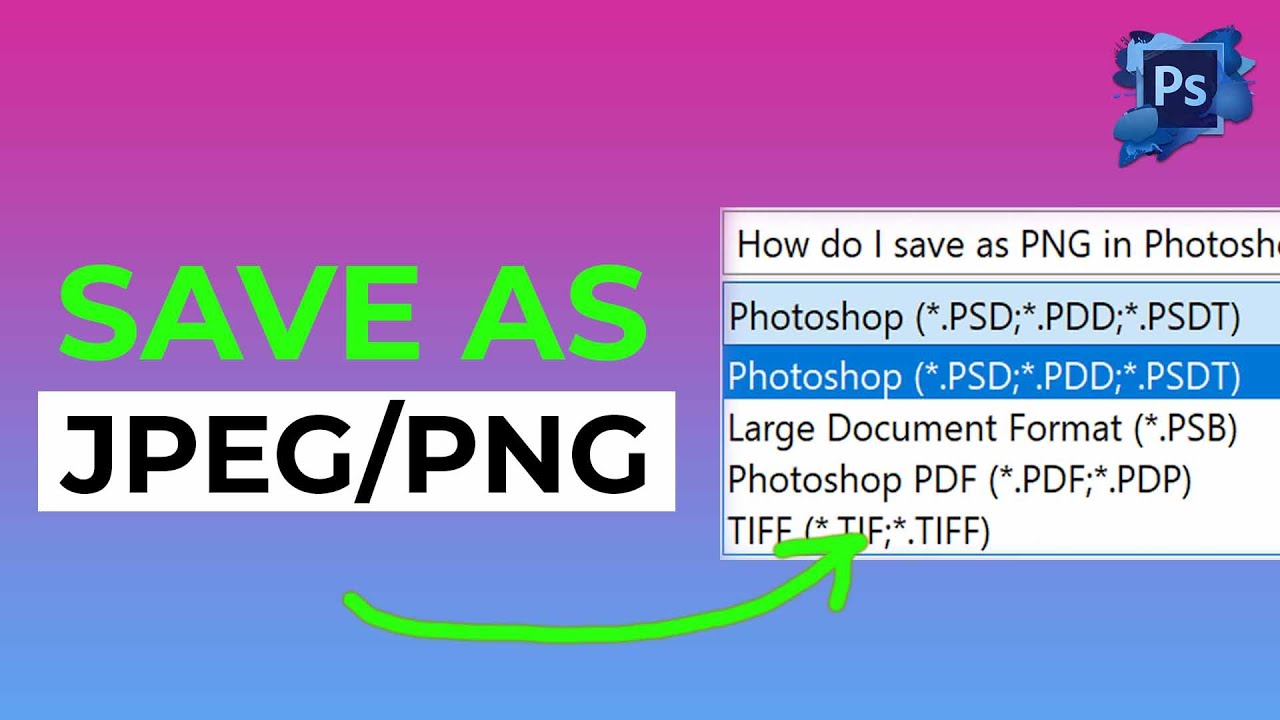
The Save As dialog with the format dropdown — note that PNG may not appear for layered documents in CC 2022+.
If your Photoshop version still shows PNG in the Save As dialog, it typically works only on flattened images (no layers). For layered documents, the format list is restricted to PSD, PSB, and a few others.
To restore the PNG option permanently:
- Open Preferences — on macOS: Photoshop > Preferences > File Handling; on Windows: Edit > Preferences > File Handling.
- Check "Show Legacy Save As" — this re-enables the classic Save As dialog where PNG appears alongside other formats.
- Restart Photoshop — the change takes effect after a restart.
This workaround was shared in the same Reddit thread that first flagged the missing PNG issue. Once Legacy Save As is enabled, you can save PNGs directly — but note that the classic dialog does not offer the same compression, colour profile, or metadata controls that Export As provides.
💡 When to use Save As: For flattened images where you want a single-step save. For layered documents or when you need transparency control, Export As remains the more reliable choice.
When to Use Each Method — A Quick Decision Framework
Each save method serves a different purpose. The table below compares them across the criteria that matter most in everyday work: reliability for transparency, available options, and speed.
| Method | Best For | Transparency Support | Options | Speed |
|---|---|---|---|---|
| Export As | Highest quality, logos, web graphics | Full alpha channel (PNG-24) or 1-bit (PNG-8) | PNG-24/8, sRGB, metadata, smaller file toggle | Medium (dialog + settings) |
| Quick Export | One-click exports, mobile use, drafts | Depends on prior Export As settings | None (uses last settings) | Fastest |
| Save As (Legacy) | Flattened images, single-step | Only if background is hidden | Limited (no compression control) | Fast |
| Save for Web (Legacy) | Web optimisation, PNG-8 dithering | Yes (PNG-24 with alpha) | Colour reduction, dithering, transparency matte | Medium |
Recommendation: Use Export As for all professional and client-ready work. Reach for Quick Export when you need a fast draft or are working on mobile. Fall back to Save As (Legacy) only when you need the old single-step workflow and your image is flattened. Save for Web remains useful for advanced web optimisation, especially if you need PNG-8 dithering or precise colour reduction. For a deeper look at Export As options, the Noble Desktop tutorial covers the format settings in detail.
How to Troubleshoot a White Background When Exporting Transparent PNGs

The Export As dialog with strawberries on a transparent background — make sure the Transparency checkbox is checked.
A white background in the exported PNG is the most common complaint among Photoshop users. It almost always has one of three causes:
🔍 Cause 1: The Transparency checkbox is unchecked.
In Export As, the Transparency checkbox (under the format dropdown) must be checked. Without it, Photoshop fills all transparent areas with solid white. This is the #1 cause — and the easiest fix.
🔍 Cause 2: The background layer is visible.
If your document has a Background layer (locked, with a lock icon) that contains white pixels, it will display in the export. Either delete or hide the Background layer, or convert it to a regular layer by double-clicking it and clicking OK in the New Layer dialog.
🔍 Cause 3: The document is in Grayscale or CMYK mode.
The Transparency checkbox is greyed out when the colour mode doesn't support alpha channels. Convert to RGB Color via Image > Mode > RGB Color. PNG format does not support CMYK or Grayscale transparency.
Before exporting, confirm transparency by looking for the gray-and-white checkerboard pattern around your subject. If you see the checkerboard, transparent areas are present. If you see a solid white background, the issues above are likely at play.
Recommended canvas sizes for transparent PNGs
For large web backgrounds (hero images, overlays), start with a canvas size of at least 3000 × 1730 px to ensure enough resolution. For logos and icons, work at the exact display size to keep file sizes low. More guidance is available from the Photobiz support article on transparent PNG creation.
⚡ Faster workflow: For frequent subject cutout and transparent PNG export, consider a plugin like Layerbench. It runs Photoshop's Select Subject, creates a mask, trims to the subject's bounds, and exports a transparent PNG in one action — useful when you need to batch-process multiple assets with consistent edge cleanup.
Resolving the Artboard-Related Transparency Bug
A less documented but frustrating issue: when using artboards, the exported PNG sometimes appears with a solid white background even when the Transparency checkbox is checked and the background layer is hidden. This is a rendering bug in Photoshop's artboard system that writes a white fill behind the content during export.
The bug has been reported in Adobe Community discussions, and the fix is straightforward:
- Step 1 — Select all layers In the Layers panel, select every layer that belongs to the artboard. Press Ctrl+A / Cmd+A if all layers are contiguous, or Shift-click to select a range.
- Step 2 — Copy and paste into a new document Press Ctrl+C / Cmd+C to copy, then Ctrl+N / Cmd+N to create a new document (Photoshop will match the copied content's size). Press Ctrl+V / Cmd+V to paste.
- Step 3 — Important: no artboard When creating the new document, make sure Artboard is not checked. The new file should be a standard document without artboards.
- Step 4 — Export as PNG Now use any method — Export As, Quick Export, or Save As — and the PNG will respect transparency correctly. The white background will no longer appear.
This workaround is effective for both single-artboard and multi-artboard documents. After moving the content to a non-artboard document, you can also delete the original artboard file. If you work with artboards frequently, checking for this bug early in your workflow can save repeated export attempts.
— Article ends here. No summary required. The artboard fix is the most specialised, community-sourced solution covered in this guide.