- Category:
- Workflow Tips
- Summary:
- Before you apply a fix, it helps to identify why the edge looks rough. Different root causes require different solutions.
To smooth edges in Photoshop, you can use anti-aliasing before making a selection, apply feathering to an existing selection, work with the Select and Mask workspace, refine edges with Gaussian Blur on a layer mask, or paint away fringe on the mask. The approach you need depends on the specific type of edge problem you’re facing — and this guide helps you choose the correct one.
- Edge Problems
- Core Methods
- Anti-Aliasing
- Feathering
- Select & Mask
- Gaussian Blur
- Fringe Removal
- Text & Shapes
- When to Switch
The Types of Edge Problems in Photoshop
Before you apply a fix, it helps to identify why the edge looks rough. Different root causes require different solutions. Here are the most common edge-quality issues:
Jagged selection edges — The subject’s outline appears stair-stepped or pixelated after cutting it out. This is typically caused by a lack of anti-aliasing or a selection that was made at low resolution. Jump to core methods.
Fringe / spill — A coloured halo or white rim remains around the subject after a cutout. This happens when the background colour bleeds into the selection edge. Jump to fringe removal.
Pixelated text — Letters appear blocky, especially after scaling. Text is vector by nature; rasterising it in Photoshop can introduce aliasing. Jump to text fixes.
Jagged geometric shapes — Straight lines or smooth curves look stair-stepped. This is a classic raster vs. vector issue. Jump to shape fixes.
Rotation-induced roughness — A shape that appears smooth at 0° becomes jagged after a Free Transform. The cause is pixel re-sampling during rotation. Learn why.
Soft/blurry edges (over-smoothed) — Edges look fuzzy or lack detail because too much feathering or blur was applied. The fix is often to use a mask-based approach instead. Jump to manual refinement.
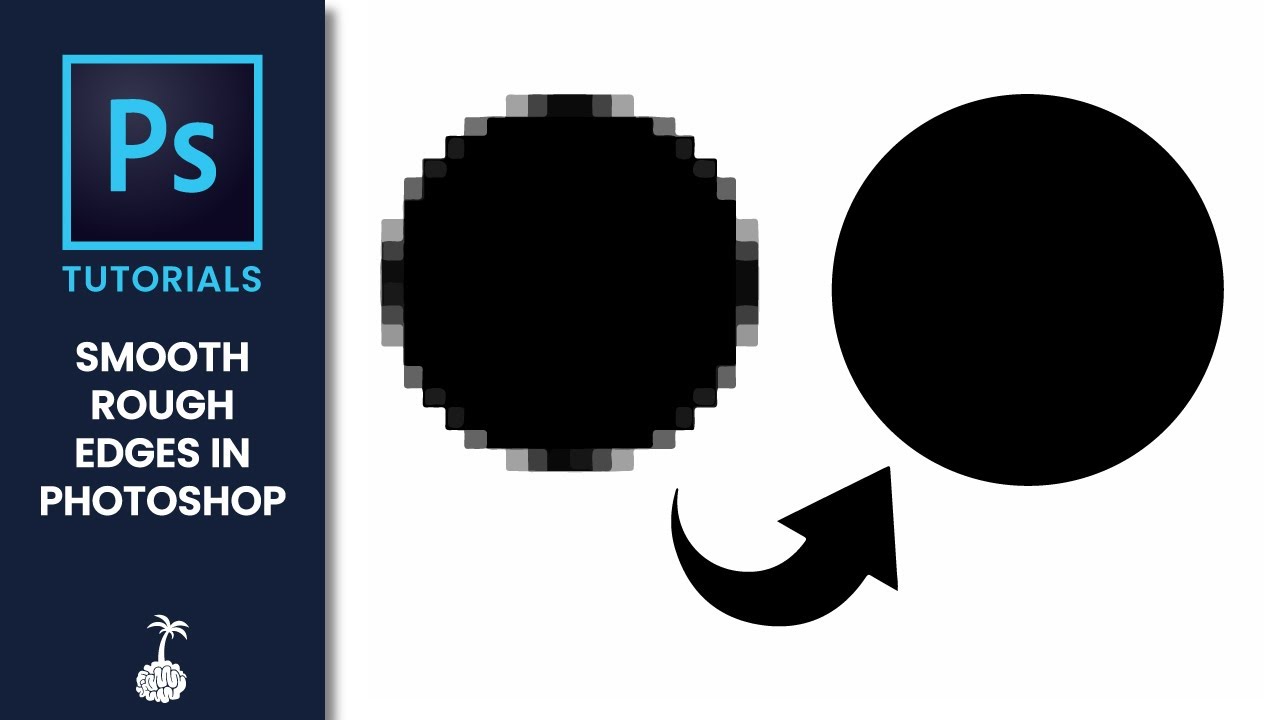
Many edge problems can be resolved with the right workflow — identifying the type is the first step.
Sources: Adobe Community on rotation jaggies, Reddit discussion on pixelated text, Reddit on jagged straight lines.
Core Methods for Smoothing Selection Edges
This section covers the five primary workflows for smoothing selection edges in Photoshop. Choose the one that matches your skill level and the type of edge you need to fix.

The goal: a jagged pixel edge (left) becomes a smooth, clean contour (right).
| Method | Best For | When to Use | Complexity |
|---|---|---|---|
| Anti-aliasing | Simple selections (lassos, marquees) | Before making a selection | Simple |
| Feathering | Soft edges, vignette-style blends | After creating a selection | Simple |
| Select and Mask | Complex edges (hair, fur) | When auto-refine is needed | Medium |
| Gaussian Blur on mask | Difficult cutouts, outsourcer errors | When edge is locally rough | Advanced |
| Paint on mask (fringe removal) | Background spill | Last step in cutout workflow | Simple |
Sources: Adobe documentation on anti-aliasing and feathering, YouTube tutorial on Select and Mask, YouTube channel mask workflow, PhotoshopCAFE fringe removal guide.
Anti-Aliasing (Before Selection)
Anti-aliasing softens the colour transition between edge pixels and the background, preserving interior detail because only the boundary pixels are affected. It must be enabled before you make a selection — it cannot be applied to an existing selection.
- Choose a tool that supports anti-aliasing: Lasso, Polygonal Lasso, Magnetic Lasso, Elliptical Marquee, or Magic Wand.
- In the options bar at the top, locate the Anti-alias checkbox and ensure it is checked.
- Make your selection as usual. The edge will already be smoothed.
Important: Anti-aliasing cannot be added after the selection is made. If you forgot to enable it, you must either redo the selection or use another method (feathering, mask blur) to smooth the jagged edge.
Source: Adobe helpx: Anti-aliasing and feathering.
Feathering (After Selection)
Feathering builds a soft transition between the selection and the surrounding pixels by blurring the edge. It can be applied after a selection is made, and you can set a radius from 0.2 to 250 pixels.
- With an active selection, go to Select > Modify > Feather (or press
Shift+F6). - Enter a radius in pixels. For micro-jaggedness, 0.5–1 px is often enough. For a soft blend, 3–10 px works well.
- Click OK and use the selection (cut, copy, or add a layer mask).
Caution: Heavy feathering can soften detail and cause visible blurring. Adobe’s own documentation advises to “use restraint and mask where needed.”
Source: Adobe helpx: Feather radius range and mechanics.
Select and Mask (Professional Cutout)
The Select and Mask workspace is the go-to tool for complex edges such as hair, fur, or fine detail. It provides a Refine Edge Brush and sliders for Smooth, Feather, Contrast, and Shift Edge.
- Make a rough selection around the subject, then click the Select and Mask button in the options bar (or go to Select > Select and Mask).
- Choose the Refine Edge Brush and paint over hair or fur edges. The tool automatically detects fine detail.
- Adjust the sliders as needed: Smooth (2–5), Feather (0.5–1 px), Contrast (10–20%), Shift Edge (negative values contract the edge).
- Set Output to New Layer with Mask and click OK.
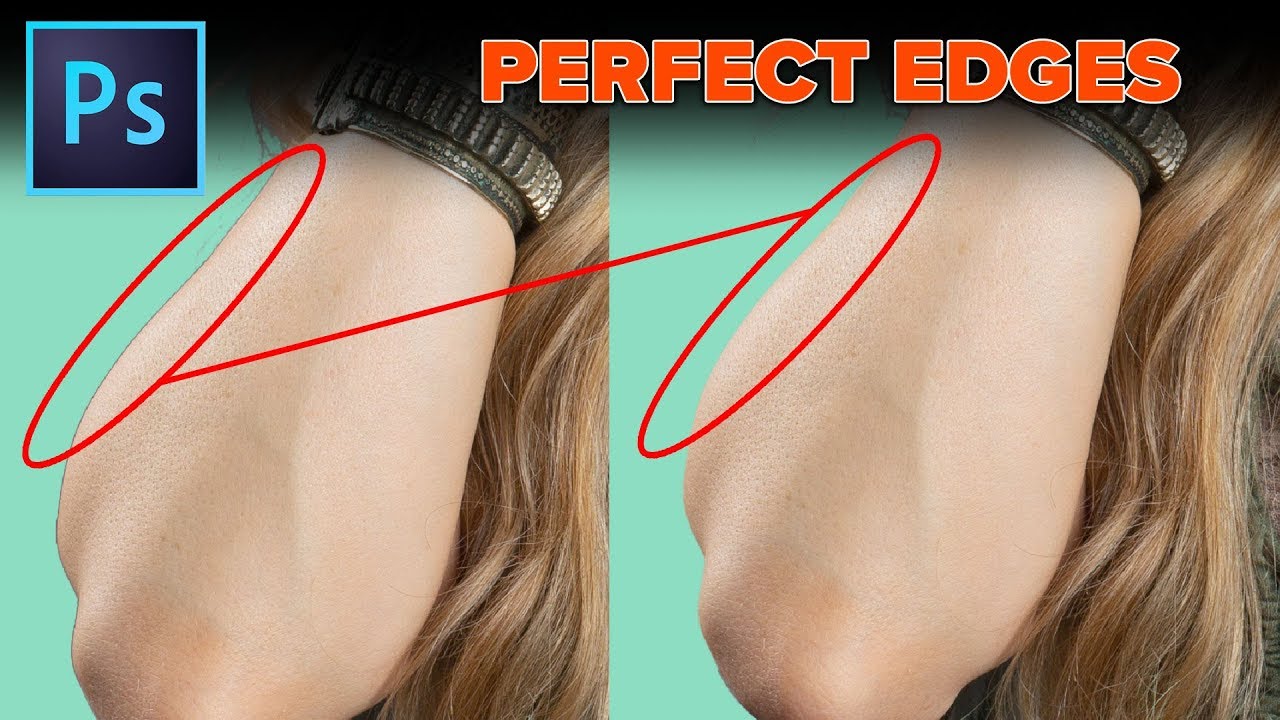
Select and Mask excels at refining edges with fine detail, such as hair or fabric.
Source: Colin Smith’s Select and Mask tutorial (YouTube).
Gaussian Blur on the Mask (Manual Refinement)
For difficult cutouts or outsourcer errors, the best approach is to apply a blur to the mask rather than the pixel layer. There are three variations of this workflow.
Method A – Channel Mask
- With an active selection, go to Select > Save Selection to save it as a new channel.
- Switch to the Channels panel and select the saved channel. Apply Filter > Blur > Gaussian Blur with a small radius (1–3 px).
- Use Image > Adjustments > Levels and push the white and black sliders inward to re-harden the edge, eliminating the grey transition.
- Load the channel as a selection (Select > Load Selection), then return to the Layers panel and add a mask.
Method B – Localised Blur on Mask
- Add a layer mask from your selection.
- With the Lasso tool, select only the problematic area of the mask edge.
- Apply Filter > Blur > Gaussian Blur (0.5–2 px) to blur the mask edge in that region only. Repeat for other rough areas as needed.
Method C – Soft Brush on Mask
For harsh edges from outsourced clipping, create a colour layer set to the subject’s average colour, add a mask, and paint over edges with a soft white brush at low opacity (30–50%). This method is favoured by professional retouchers when working with outsourced cutouts.
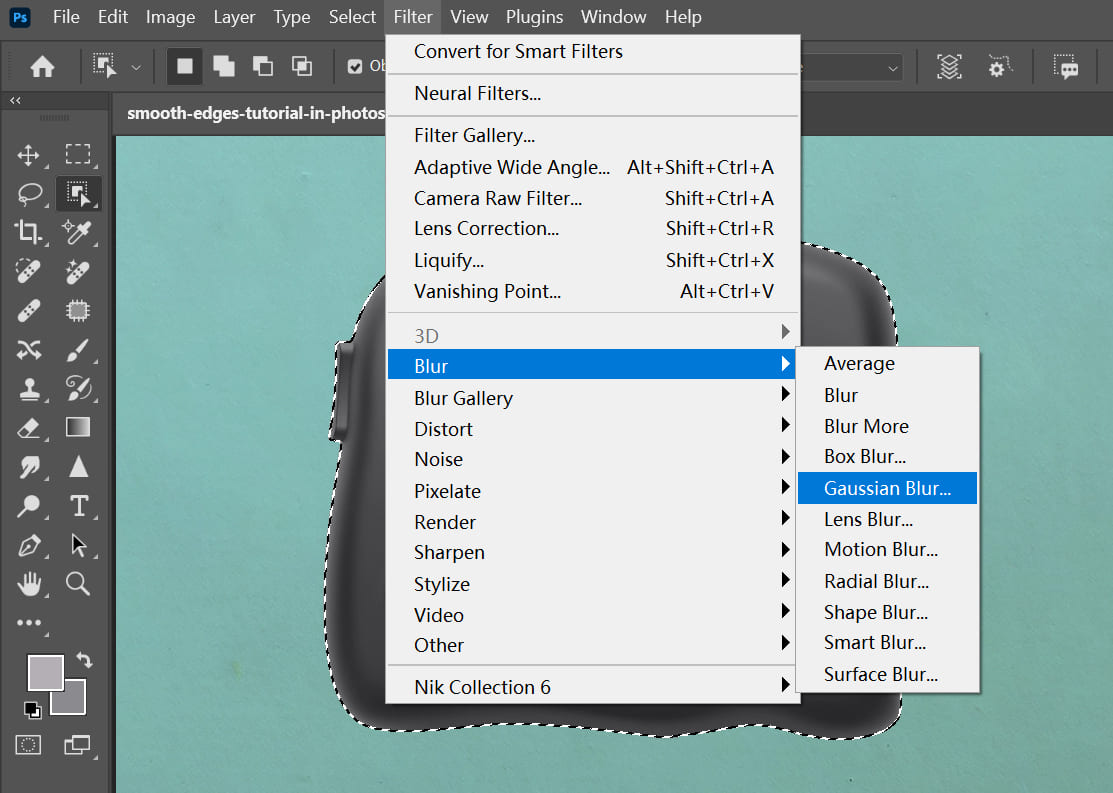
Gaussian Blur applied to a mask channel allows precise control over edge softness.
Sources: Channel mask workflow (YouTube), Reddit expert discussion on mask-based softening.
Removing Fringe and Background Spill
Even a well-cut subject can have a coloured halo or white rim where the background wasn’t fully removed. The most precise fix is to paint directly on the layer mask.
- Add a layer mask to the cutout layer if one isn’t already present.
- Zoom in to 200–300% so you can see the fringe clearly.
- Select a soft round brush (50–70% hardness), set the opacity to 30–50%, and set the foreground colour to black.
- Gently paint along the edge of the mask to hide the unwanted fringe. Build up the opacity with multiple strokes for a natural transition.
Alternative: Use Layer > Matting > Defringe for a quick automated pass, but manual painting on the mask gives you more control and preserves the subject’s detail.
Pro tip: For repetitive fringe removal on batch work, a dedicated plugin like Layerbench can automatically shrink the mask edge using a Mask Minimum operation with a user-supplied radius (1–3 px), reducing halos without hand-painting each image. This is especially useful when processing dozens of cutouts from an outsourcer.
Painting with a soft black brush on the mask removes fringe while keeping the subject’s edge natural.
Source: PhotoshopCAFE: How to fix edges for perfect cutouts.
Fixing Jagged Text and Geometric Shapes
Text and geometric shapes are inherently vector. When they are rasterised in Photoshop, the pixel grid introduces aliasing that makes edges look jagged, especially after scaling or transformation.
Core problem: Photoshop is a raster (pixel) program. For text, logos, and scalable artwork, the community consensus is clear: use a vector-first application like Adobe Illustrator. As one Reddit user with 6+ years of experience put it, “Photoshop is not the right tool for this.”
Best solution — create text and shapes in Adobe Illustrator, then bring them into Photoshop as Smart Objects. They will remain editable and scale without jaggies.
If you must stay in Photoshop:
- Use the Pen Tool to create a vector mask (work path) rather than a pixel selection. Vector paths remain smooth at any scale.
- Convert the layer to a Smart Object before any rotation or scaling. This prevents Photoshop from permanently rasterising the pixels during transformation.
- When using Free Transform, choose Bicubic Smoother interpolation from the options bar for the best quality.
Affinity Suite alternative — Affinity Designer ($69.99 per app, or $169.99 for the full suite) is a vector-first application that handles text and shapes natively, avoiding the rasterisation problem entirely.
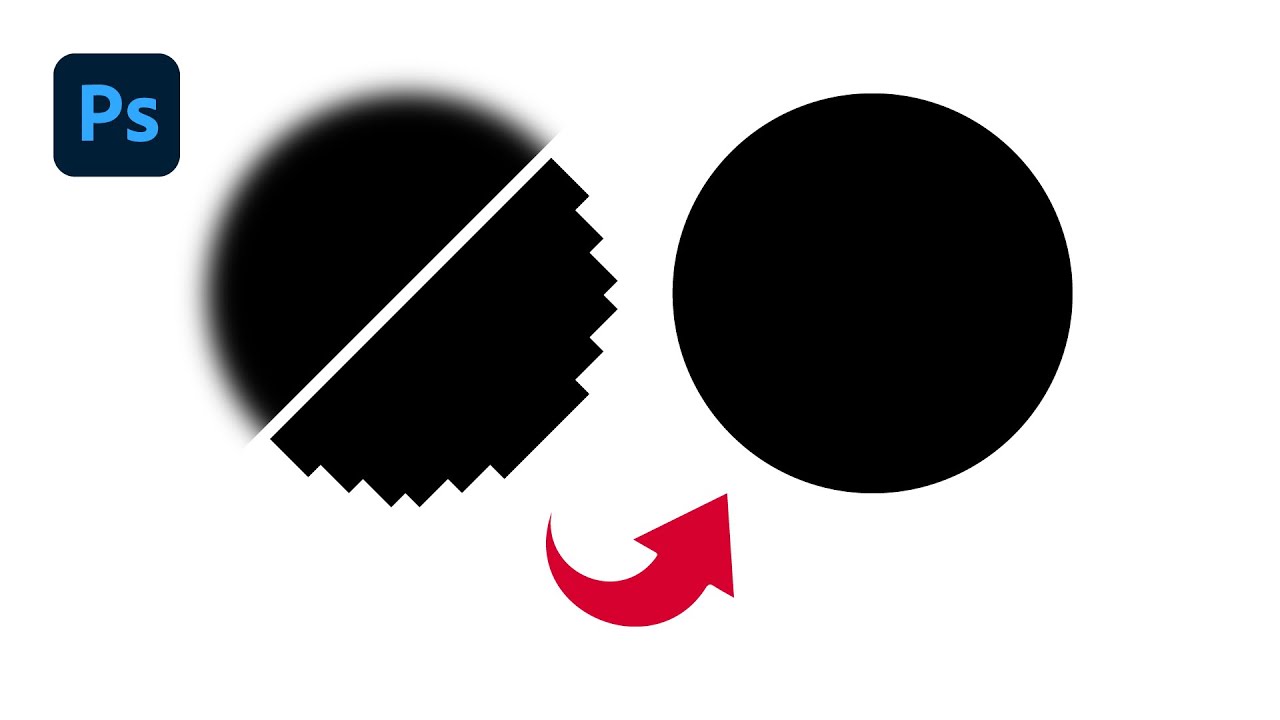
Vector shapes (right) stay smooth at any size; raster shapes (left) show stair-stepped edges.
Sources: Reddit on pixelated text, Reddit on jagged lines and Affinity pricing, Adobe Community on rotation roughness.
When Photoshop Isn’t the Right Tool for Smooth Edges
Photoshop is exceptional for photo cutouts and raster-based compositing, but it has hard boundaries. For certain types of work, the raster engine will always reintroduce jaggedness, no matter which smoothing method you apply.
- Logo design — vector shapes need to stay crisp at any scale. Photoshop’s pixel grid can’t guarantee that.
- Typography — text should be set in a vector application (Illustrator, InDesign, Affinity Designer) and imported as a Smart Object if it needs to live inside a Photoshop composition.
- UI elements — buttons, icons, and interface components require sharp, resolution-independent edges.
- SVG export — Adobe has discontinued direct SVG export from Photoshop. For scalable vector graphics, Illustrator is the recommended application.
The rotation problem revisited: A shape that looks perfect at 0° will often become jagged after rotation because Free Transform re-samples pixels. The fix is to work with vector layers or convert to a Smart Object before transforming. If the shape is already rasterised, the pixel data has been altered permanently.
Final advice: Reserve Photoshop for what it does best — photo cutouts, retouching, and raster-only compositions. For anything involving text, logos, or scalable shapes, switch to a vector-first application. This isn’t a limitation of your skill; it’s the nature of the tools.
Sources: Reddit on text and vector tools, Reddit on straight lines and SVG export, Adobe Community on rotation jaggies.