- Category:
- Export & Automation
- Summary:
- Learn how to export 100 Photoshop layers to transparent PNGs using the built-in script, avoiding white backgrounds and shifted positions with simple fixes.
You can export 100+ layers as transparent PNGs in one pass using Photoshop's built-in script.
Method 1 Script: File → Scripts → Export Layers to Files — set type to PNG‑24, check Transparency, uncheck Trim Layers. Handles all layers at once, preserves canvas position.
Method 2 Export All: Right‑click any layer → Export As → PNG → check Transparency → click Export All. Works for smaller batches (3–20 layers); uses layer names as filenames.
Two common failures — white backgrounds and shifted positions — each have a single‑click fix. See sections below.
Use the Built‑in Script for Batch Export
The Export Layers to Files script is the only built‑in tool that handles 100 layers in a single operation. It outputs one PNG per layer into a folder of your choice. A detailed Stack Exchange answer confirms this workflow and flags the one setting that commonly causes trouble.
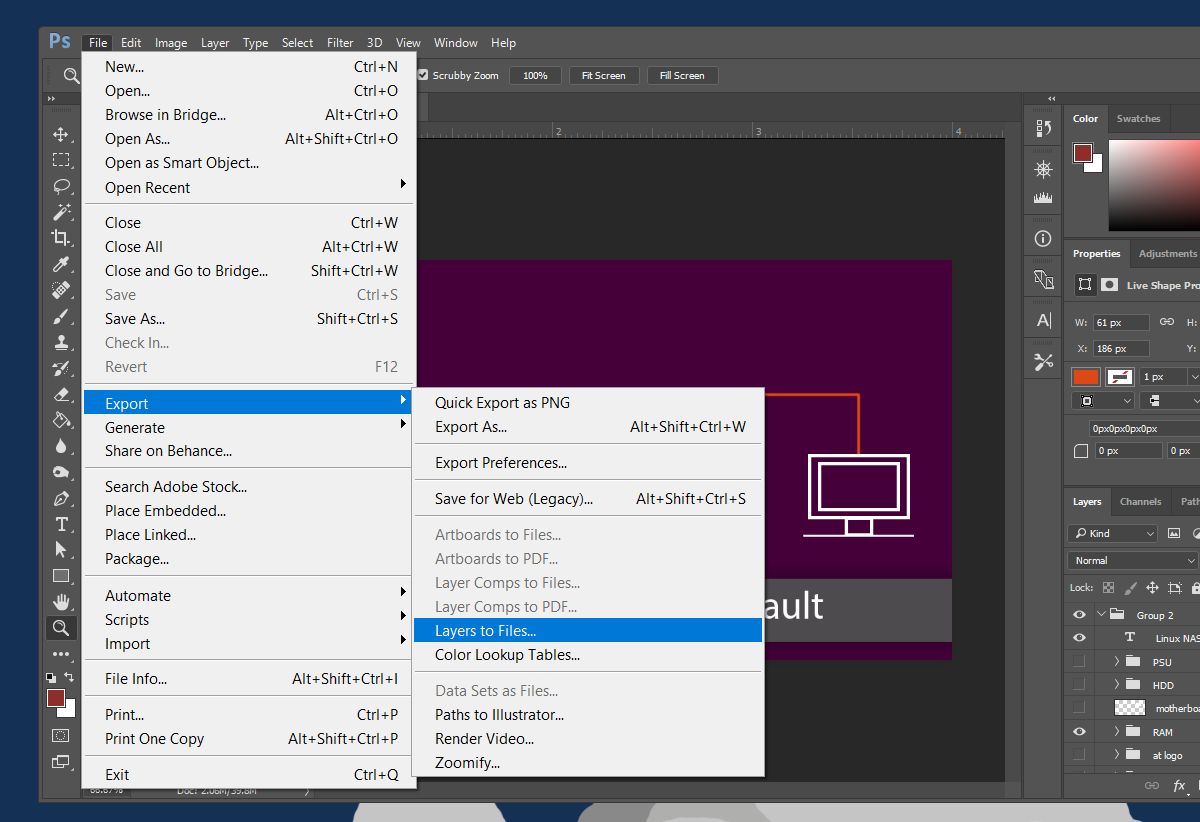
Export Layers to Files dialog — ensure PNG‑24, Transparency checked, and Trim Layers unchecked.
- Prepare the document. Verify that no solid white background layer is visible. Turn off or delete any background layer. Confirm the checkerboard pattern is showing in the document window — that is your signal that transparency is present. A support article on transparency basics covers this check in more detail.
- Open the script. Go to
File → Scripts → Export Layers to Files. This menu item is present in Photoshop CC 2019 and later. - Configure the dialog. Set the file type to PNG‑24. Check the Transparency box. Critically, uncheck Trim Layers. When Trim Layers is enabled, Photoshop removes transparent pixels around each layer, which can re‑anchor the content to the top‑left corner and shift its position. The same Stack Exchange answer explicitly recommends deactivating Trim Layers to preserve the original canvas position.
- Handle layer groups. The script treats each group as a single merged layer. If you need individual sub‑layers inside a group to export separately, ungroup them first (
Layer → Ungroup Layers) or use a third‑party plugin that preserves group structure. An Adobe Community question highlights this limitation. - Run and review. Choose an output folder and click Run. The script creates one PNG per layer, named after the layer. Open two or three exports to confirm that transparency is intact and content sits at the expected canvas position.
⚠️ Important: The script exports every layer — including hidden ones. If you only want certain layers, duplicate the file, delete the layers you do not need, then run the script on the copy.
Fix the Two Most Common Export Failures
Even when you follow the basic steps, two issues consistently frustrate users. Below are the specific causes and the fixes that actually work.
White Background Instead of Transparency

The checkerboard pattern confirms transparency is present. If you see solid white, a background layer is still active.
An Adobe Community thread with 45,700 views documents users whose preview shows transparency but the exported PNG has a solid white background. The cause is almost always one of the following:
- A visible white background layer. Even if it looks hidden in the preview, some export paths still read it. Solution: delete the background layer entirely, or turn off its visibility and confirm the checkerboard pattern is showing.
- Wrong file format. PNG‑8 does not support alpha transparency. Always select PNG‑24 in the export dialog.
- Transparency checkbox not enabled. In the Export As dialog, the Transparency option is off by default. You must manually check it.
Quick fix: Before exporting, duplicate your file, flatten the duplicate, and delete the background layer. Then export as PNG‑24 with Transparency checked. This bypasses most layer‑related bugs.
Layers Shifting Away from Original Position
A detailed Adobe Community bug report describes layers that export shifted to the left edge, even when Trim Layers is off. Testing revealed several triggers:
- Trim Layers enabled — the script removes transparent pixels, effectively re‑anchoring the layer to the top‑left corner. Fix: Uncheck Trim Layers.
- Quick Export with hidden background — this method applies its own trimming logic that can shift content, especially layers with drop shadows or glows. Fix: Use the script method instead of Quick Export for position‑critical work.
- Extremely large canvas (14,000 px or more) — a memory‑related bug can cause shifting even without trimming. Workaround: Temporarily reduce canvas size to 1,000 px for export, then scale back up.
- Layer groups — exporting a group can produce a merged image with unexpected cropping. Fix: Ungroup before exporting, or flatten layers within the group.
Drop shadows are a common trigger. In the Adobe Community test, only layers with drop shadows shifted; identical layers without effects exported correctly. If you see selective shifting, rasterize the layer effects (
Layer → Rasterize → Layer Style) before running the script.
Compare the Three Methods for Exporting Layers
Each method has trade-offs. The table below matches each one to the batch size and reliability needs of your project.
| Method | Best for | Position reliability | Batch size | Custom naming |
|---|---|---|---|---|
| Quick Export (right‑click) | 1–2 layers, quick checks | Low — shifting common with effects | 1 at a time | No (uses file name preset) |
| Export As + Export All (right‑click → Export All) | 3–20 layers | Moderate — may shift if effects present | All visible at once | Uses layer names |
| Script (File → Scripts) | 20+ layers, especially 100 | High — reliable with Trim Layers off | All layers (incl. hidden) | Uses layer names; no prefix option |
A Medium walkthrough of the Export All method shows how to batch‑export by right‑clicking a single layer, choosing Export As, confirming PNG and Transparency, then clicking Export All. This is faster than the script for small sets but lacks the script's position reliability.
Key takeaway: For 100 layers where position matters, the script is your primary tool. Use Export All only when you need a quick batch of a few layers and can manually verify positioning afterward.
Expert Tips for Handling Special Layer Types
Certain layer types and effects cause disproportionate trouble during batch export. These tips come from real user tests documented in Adobe Community threads.
- Layers with drop shadows or glows: Rasterize layer effects before export (
Layer → Rasterize → Layer Style). This prevents the transparency‑trimming algorithm from misreading the effect bounds and shifting the layer. - Smart Objects and Text Layers: These typically export without issue. If you see unexpected cropping, convert the layer to a regular pixel layer (
Layer → Rasterize → Smart ObjectorType). - Adjustment Layers: The script skips them because they contain no pixel data. If you need the adjustment applied to the exported image, merge visible before export or stamp the visible content (
Ctrl+Shift+Alt+E/Cmd+Shift+Option+E) onto a new layer. - Layer Groups: As noted earlier, the script exports each group as a merged image. To preserve individual sub‑layers, ungroup first. If you need to keep the group structure intact for editing later, duplicate the file, ungroup the copy, export, and discard the copy.
For users who frequently batch‑export layers from complex files, a dedicated plugin such as Layerbench can provide additional automation options — including one‑click cutout, mask cleanup, and multi‑layer PNG export with trimming to each layer's visible bounds — while keeping the original PSD editable.
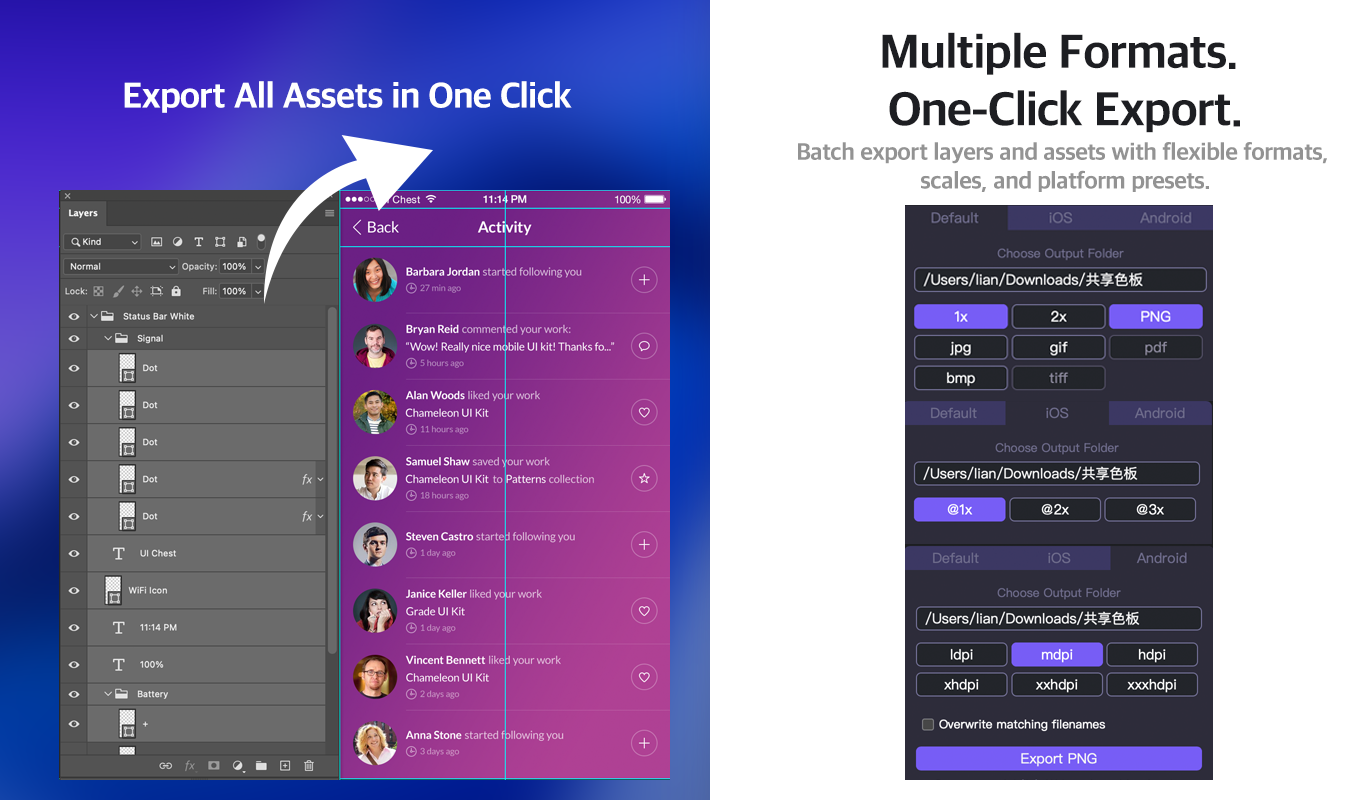
Layerbench — a separate Photoshop plugin: batch-export all layers to transparent PNG in one pass, each file trimmed to its visible pixels (also supports Default/iOS/Android presets and @1x–@3x scales).
Related: how to save a PNG in Photoshop · how to batch edit in Photoshop.
Which Source Should You Trust for Your Scenario?
No single source covers every edge case. Here is what each of the key sources is actually good for, so you can go straight to the one that matches your situation.
-
Stack Exchange Graphic Design SE #131769
Best for a clear, correct baseline: use the script with Trim Layers off and PNG‑24. Ideal if you have not yet encountered problems and want the standard workflow.
Read the answer → -
Adobe Community Quick Export shifting bug
Essential if you are facing shifting: details drop‑shadow triggers, the 14,000‑px canvas workaround, and the rasterize fix. Contains real test data.
Read the bug report → -
Adobe Community Transparency failure thread
If your PNGs come out white despite a transparent preview, browse the 30 replies for edge‑case solutions — hidden background layer, file corruption, and rendering cache issues.
Read the thread → -
Photobiz Support Transparency basics article
Good for beginners who need a reminder about the checkerboard test, removing the background layer, and the difference between JPG and PNG.
Read the article →
Combine the guidance from these sources: start with the Stack Exchange baseline, apply the Adobe Community fixes if you hit shifting or transparency failures, and use the Photobiz article as a quick reference for the fundamentals.