- Category:
- Export & Automation
- Summary:
- Compare Photoshop UI asset export methods: Generator for automation, Export As for manual control, and batch scripts for bulk output—find your ideal workflow.
Export UI assets from Photoshop using three built‑in methods:
Adobe Generator — rename layers with filenames like icon.png and assets appear automatically in a side folder. Best for batch workflows and multi‑resolution output.
Export As — full manual control over format, quality, and interpolation for single assets.
Export Layers To Files — one‑click batch export of every visible layer as a separate file.
Plus third‑party plugins such as PNGHat and Layerbench that add selective‑layer and one‑click cutout‑export workflows.
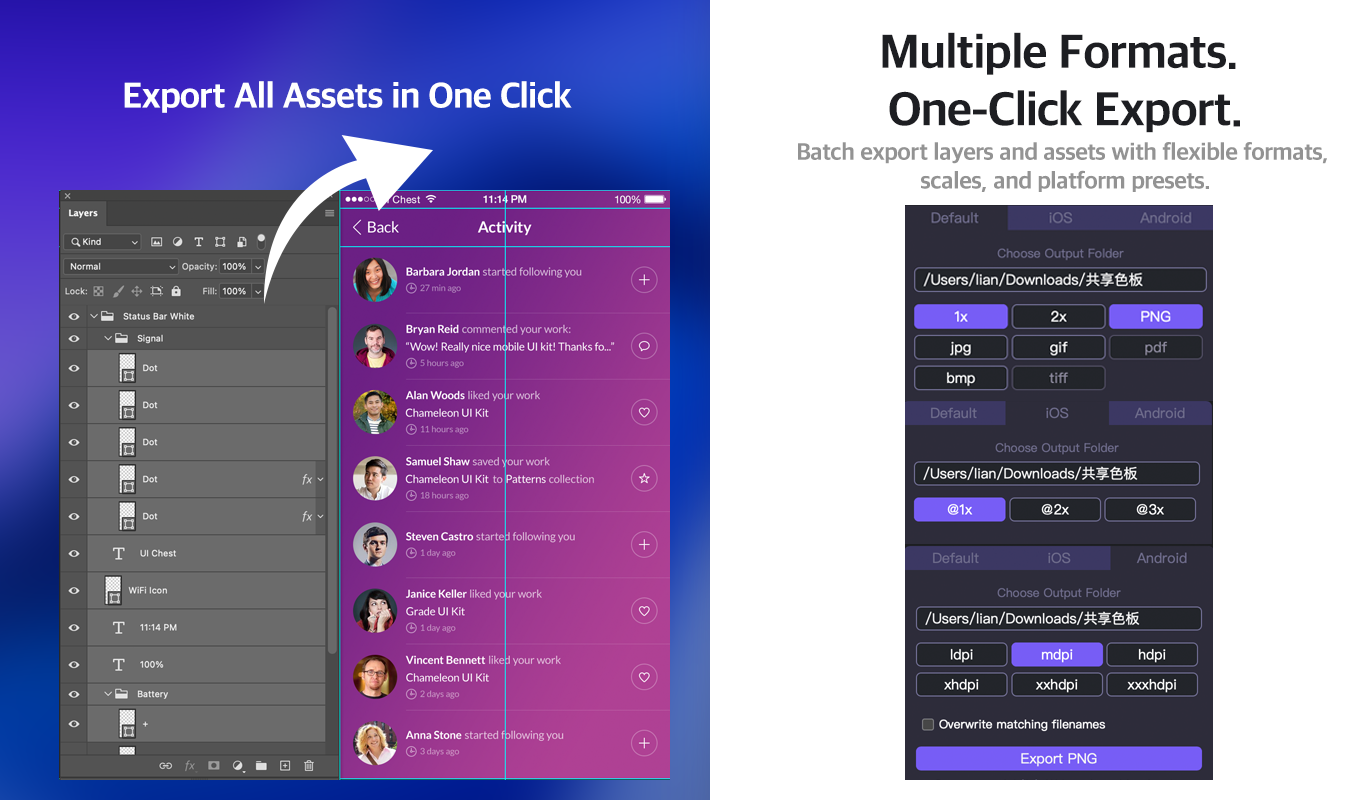
Layerbench — a separate Photoshop plugin: batch-export layers to PNG and other formats with Default/iOS/Android presets and @1x–@3x scales, each trimmed to visible pixels.
Related: how to save a PNG in Photoshop · how to export from Photoshop.
Which Photoshop Export Method Should You Use?
Each approach fits a different workflow. The table below compares the four most common paths so you can match one to your project.
| Method | Best Use Case | Automation Level | Multi‑Resolution | Learning Curve | Output Control |
|---|---|---|---|---|---|
| Adobe Generator | Batch export from layer names | High (rename only) | Yes — via @2x naming |
Low | Good |
| Export As | Single asset with full settings control | Low — manual per export | No — export each size manually | Low | High |
| Export Layers To Files | All visible layers as separate files | Medium — one click | No built‑in scaling | Medium | Medium |
| PNGHat / Layerbench | Selected groups or cut‑out subjects | Medium — plugin‑dependent | Plugin‑dependent | Low | Medium |
Details for each method are based on Noble Desktop’s Generator tutorial, Adobe’s Export As documentation, and community guides for batch scripts and plugins.
How to Set Up Adobe Generator for Automatic Asset Export
Generator watches your layer names. Rename a layer to filename.extension and it exports that layer’s content automatically. No clicking through dialogs.
Enabling Generator (Two Menu Paths, Depending on Your Version)
The menu location depends on your Photoshop version:
- Photoshop CC 2017 and older: go to File → Generate → Image Assets and check the option on. A checkmark appears when it is active.
- Photoshop CC 2018 and newer (including current 2025/2026 releases): go to File → Automate → Generator Plugins and enable Image Assets from the sub‑panel.
Tip: If you cannot find either path, search for “Generator” in Photoshop’s Help menu (Help → About Generator Plugins). The Adobe Help page on Generator also lists the current menu location for your exact version.

Menu path for enabling Generator in older Photoshop versions (File → Generate → Image Assets). In newer builds the entry is under File → Automate → Generator Plugins.
Layer Naming Rules That Make Generator Work
Generator converts any layer name that looks like a filename into an exported file. Follow these rules from Noble Desktop’s guide:
- Use lowercase only —
icon-menu.pngworks;Icon-Menu.PNGmay fail. - No spaces — use hyphens
-or underscores_instead. - Only alphanumeric characters, hyphens, and underscores — avoid parentheses, commas, or special symbols.
- End with a supported extension:
.png,.jpg,.gif,.svg.
Example layer names:
icon-menu.png
button-primary.jpg
logo-header.svg
Controlling JPEG Quality and Choosing PNG Variants
Append quality and format modifiers directly to the filename. The Noble Desktop tutorial documents these exact flags:
-
JPEG quality: add
-XX%to the name.banner.jpg-75%exports at 75 % quality. The default is 90 %. -
PNG‑8 (256 colours): use
.png-8— ideal for small icons without transparency. -
PNG‑24 (24‑bit, no alpha): use
.png-24. -
PNG‑32 (24‑bit + alpha transparency): use plain
.png— this is the default and preserves transparency. -
~600 KB — File size at default 90 % JPEG quality
-
~300 KB — Same image at 65 % quality — 50 % smaller
-
90 % — Generator’s default JPEG quality when no
-XX%is set
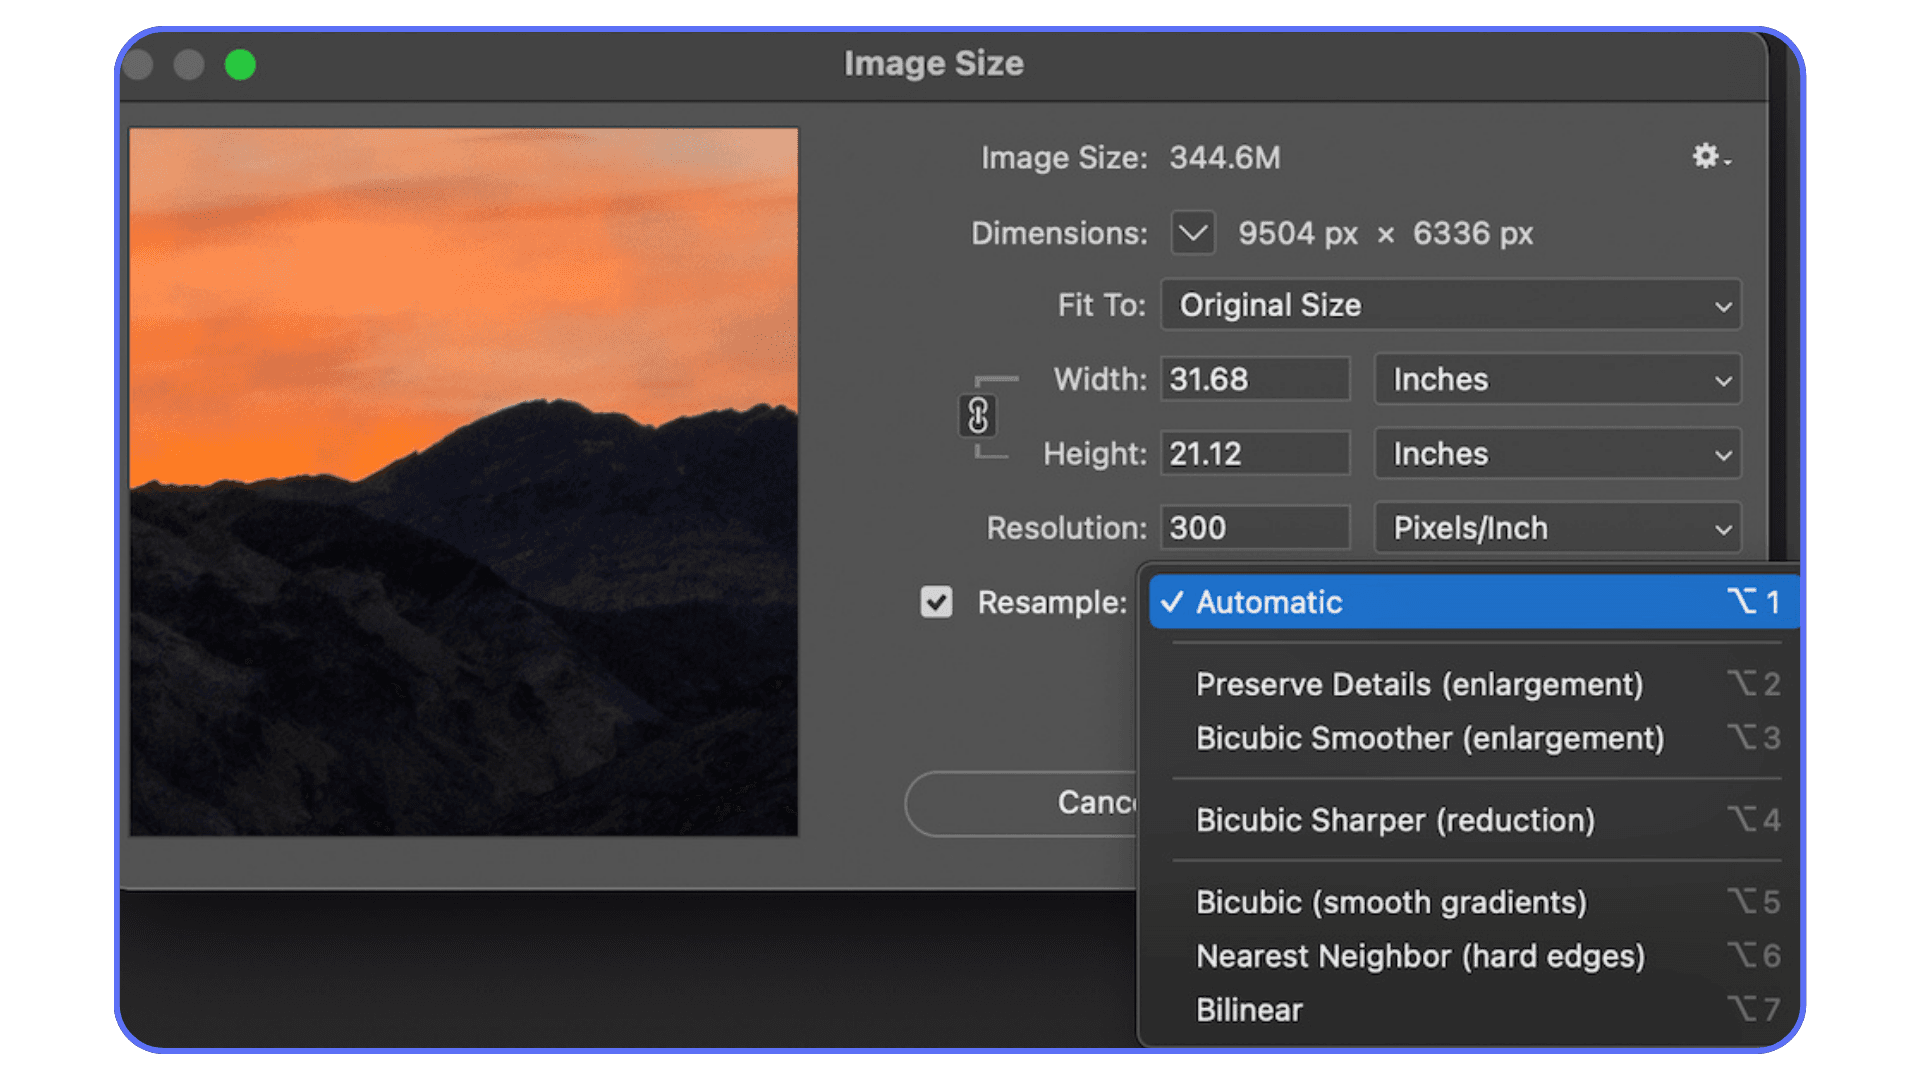
Use the Image Size dialog to preview pixel dimensions before applying Generator’s filename‑based quality flags.
Supported Output Formats (Including SVG)
Adobe Generator can produce JPEG, PNG, GIF, and SVG files from layer contents. According to Adobe’s official documentation, SVG is especially useful for vector UI icons because it remains resolution‑independent. To export an SVG, name the layer icon.svg — ensure the layer content is a vector smart object or shape layer for best results.
Where Generator Saves the Files
Generator creates a folder named [your-psd-filename]-assets in the same directory as the PSD file. For example, app-design.psd produces app-design-assets/. Every renamed layer appears inside this folder. You can create subfolders by including a forward slash in the layer name, such as icons/menu.png to place the file in app-design-assets/icons/menu.png.
When Should You Use Export As Instead of Generator?
Generator is fast, but Export As gives you full control over a single asset’s format, quality, and colour profile. Use it when you need to:
- Export a specific layer or artboard at a custom size.
- Choose an exact interpolation method for downscaling or enlarging.
- Review a preview before committing.
Adobe’s Export As documentation lists seven interpolation options:
- Bicubic Sharper — recommended for downscaling (reducing image size).
- Preserve Details — recommended for enlarging (upscaling).
- Bicubic Smoother, Bicubic, Bilinear, Nearest Neighbor, and Bicubic Automatic are available for specialised needs.
Note: Export As does not support multi‑resolution automation. To get
@2xand@3xversions, you must export each one manually or switch to Generator for batch work.
How to Batch Export All Layers at Once with Export Layers To Files
When you need every visible layer turned into its own file — for a sprite sheet or to hand off individual elements — the built‑in script does it in one click:
- Go to File → Scripts → Export Layers To Files.
- Choose a destination folder and a file‑name prefix (e.g.,
icon-). - Select the file type (PNG, JPEG, etc.) and click Run.
Important: This script exports all visible layers. If your PSD contains dozens of hidden reference layers, duplicate the file first — as recommended by community advice on the Lemmasoft forum — or hide the layers you do not want exported. The script does not scale assets; output is at 1× size.
The script is a quick way to generate a full layer set, but it lacks multi‑resolution output and per‑layer format control.
What Third‑Party Plugins Like PNGHat Offer
If the built‑in methods feel clunky for selective exports, plugins add a more visual workflow. PNGHat, covered in a Tuts+ tutorial, works like this:
- Select the layers or groups you want to export.
- Click the PNGHat Export Selected Layers button.
- Assets are saved to a configured folder with your chosen naming scheme.
PNGHat’s advantage is that you can export a subset of layers without reorganising your whole layer panel. Another option is Layerbench, which includes a lossless layer‑export feature: select one or more layers, and it exports each as a transparent PNG trimmed to its visible bounds — keeping the original 1× size with no scaling. This is useful for quickly pulling individual UI elements out of a dense PSD.
How to Name and Organise Your UI Assets for Developer Handoff
Consistent naming and folder structure save developers time and prevent broken links. Extend Generator’s naming rules into a complete hierarchy. Based on common iOS/Android conventions shared by designers on Quora, a recommended layout looks like this:
assets/
├── icons/
│   ├── icon-menu@2x.png
│   ├── icon-menu@3x.png
│   └── icon-settings@2x.png
├── screens/
│   └── home-screen.jpg
└── sprites/
    └── button-sprite.png
Generator can replicate this structure by using forward slashes in layer names. For example, rename a layer to icons/icon-menu@2x.png and it lands inside app-design-assets/icons/. Key rules:
- All lowercase, hyphens for spaces.
- Append
@2x,@3xfor resolution variants — Generator scales the layer automatically. - For Android, use density folders:
drawable-mdpi,drawable-hdpi,drawable-xhdpi,drawable-xxhdpi,drawable-xxxhdpi.
Pro tip: Create a “master” PSD with your design system components (icons, buttons, colours) and use Generator to maintain a live
assets/folder. Any change to a layer name or artwork updates the exported file instantly.
What Common Export Problems Do Designers Face and How to Fix Them
“Generator menu is missing — what do I do?”
This is the most common issue. As noted in the Adobe Help page on Generator, the menu path changed around Photoshop CC 2018. Check File → Automate → Generator Plugins (newer builds) or File → Generate → Image Assets (older builds). If neither appears, use the Help menu and search for “Generator” — the command may be tucked inside a sub‑menu that was not enabled by default. Resetting Photoshop’s preferences can also restore missing menu items.
“Export Layers To Files created too many empty files”
The script exports every visible layer. If your PSD has dozens of hidden guides, text layers, or reference elements, duplicate the file first (as suggested in the Lemmasoft forum thread). Alternatively, toggle visibility on only the layers you need before running the script. Empty layers with no visible content will still produce small blank files — delete or merge them beforehand.
“My layers don’t auto‑update in Illustrator”
Photoshop does not natively push updates to Illustrator. A designer on Adobe Community raised this exact question. The workaround: use linked smart objects (File → Place Linked) so Illustrator reads the PSD directly, or save Generator exports to a shared folder and re‑link assets when they change. Neither method is fully automatic — treat it as a “manual refresh” workflow.
Your Next Step – Enable Generator and Test with a Sample Project
Open any UI PSD you have on hand and do this:
- Enable Generator via File → Automate → Generator Plugins (or File → Generate → Image Assets on older builds).
- Find a layer — any layer — and rename it to
test.png(all lowercase, no spaces). - Switch back to your desktop or file manager. Look for a folder named
[your-psd-name]-assetsnext to the PSD. Inside, you will findtest.png. - If that works, push further: rename a layer to
icon@2x.pngand check that the exported file is twice the pixel dimensions of the original layer.
That single test confirms that your Photoshop version supports Generator, that the folder path is correct, and that you understand the naming convention. From there, you can scale up to full project‑wide asset export using the methods covered above.