- Category:
- Export & Automation
- Summary:
- Photoshop's Trim Transparent Pixels command removes transparent borders instantly but skips semi-transparent edges; use a threshold mask to get clean PNGs.
The fastest built-in method is Image → Trim → Transparent Pixels. It removes fully transparent borders instantly.
However, if your image has semi-transparent or anti-aliased edges (alpha > 0), the Trim command will ignore them.
Below you'll find the exact workflow for clean PNGs, plus four alternative methods that handle the tricky edges the native tool misses.
The Standard Trim Command and Its Limit
Adobe Photoshop's built-in Trim command is the first stop for removing excess transparent canvas. It is quick, requires no complex selections, and works perfectly on graphics with a fully transparent background.
How to use the native Trim command
- Open your image or composite in Photoshop. Ensure the layer you want to trim is selected and has transparency.
- Go to Image → Trim in the main menu bar.
- In the Trim dialog box, select Transparent Pixels under the "Based On" section.
- Choose which sides to trim (Top, Bottom, Left, Right). "All" is the most common setting.
- Click OK. The canvas shrinks to the outermost opaque pixels.

The Trim dialog box (Image → Trim) lets you choose "Transparent Pixels" as the basis for cropping the canvas.
Limitation The native Trim command only removes pixels with zero opacity (alpha = 0). If a pixel has any visible value — even alpha = 1 or RGB 254,255,255 — Photoshop considers it opaque and leaves the canvas untouched. This is the source of most "Trim isn't working" complaints.
Why the Trim Command Fails on Semi-Transparent Edges
Several common scenarios produce pixels that the Trim command sees as "opaque" even though they look empty to the human eye. This is the most searched troubleshooting topic around trimming transparent pixels.
Anti-aliased edges after scaling or soft brushes
When you scale down an image or use a soft brush, Photoshop creates semi-transparent pixels along the edges. These pixels have an alpha value between 1 and 254, which means Trim treats them as opaque. A Reddit thread spanning 2016–2026 documents this exact frustration: users scale down a logo, apply Trim, and nothing happens.
The near-white pixel trap
Pixels with RGB values like 254, 255, 255 and a minimal alpha (e.g., 1/255) are practically invisible but block the Trim command. According to an Adobe Community troubleshooting thread, the Eyedropper tool can miss these scattered near-white pixels, giving you a false sense that your image is clean.
⚠️ How to diagnose hidden pixels Add a Threshold adjustment layer (Layer → New Adjustment Layer → Threshold) and drag the slider all the way to 255. Any pixels that remain white are your troublemakers — they have an RGB value very close to pure white and will prevent Trim from working. This diagnostic technique comes from Mylenium, an Adobe Community moderator.
How to Remove Semi-Transparent Pixels with a Threshold Mask
The most community-vetted solution for stubborn semi-transparent edges comes from Reddit user chain83, whose method has been confirmed working by dozens of users over nearly a decade. Instead of adjusting the image directly, this technique hardens the layer mask to force a clean cut.
Step-by-step: Threshold mask workflow
- Duplicate your layer (optional but recommended) so you keep an original.
- With your layer selected, go to Layer → Mask → From Transparency. This creates a layer mask based on the existing transparent areas.
- Make sure the layer mask thumbnail is selected (click it). Then go to Image → Adjustments → Threshold.
- Set the Threshold level to 255. This converts the mask to a binary black-and-white — all semi-transparent pixels become fully transparent.
- Apply the mask permanently if desired: right-click the mask thumbnail and choose Apply Mask.
- Now run Image → Trim → Transparent Pixels. The canvas will shrink correctly.

The Threshold mask method produces a hard, crisp edge — ideal for icons, sprites, and UI elements.
✅ When to use this method This is the go-to solution for UI icons, game sprites, pixel art, and any graphic that needs hard, aliased edges. Note that it removes anti-aliasing, so it is not suitable for photographs where smooth edges are required.
Three Alternative Manual Methods for Stubborn Edges
If the Threshold mask method does not fit your workflow, or if you need a quick fix without menu diving, these three Reddit-validated alternatives each solve a specific edge case.
- Flatten + Delete (codewise – 12 upvotes): Flatten the image onto a solid background (black or white). Unflatten so it is no longer the Background layer. Use the Magic Wand or Lasso to select the background with anti-aliasing unchecked, then delete. Best for images that will sit on that same solid colour.
- Duplicate Layers (CreeDorofl): Press
Ctrl+J(orCmd+J) repeatedly — 5 to 20 times — to build up opacity in semi-transparent areas. Merge all copies. This is a quick hack for tiny edge artifacts in pixel art or low-resolution graphics. - Arrow Key Trick (SuperUser): Press
Ctrl+A(Select All). Tap the right arrow key, then the left arrow key. This selects only fully opaque pixels without moving the content. Then run Image → Crop. Extremely fast and requires no menu diving.
All three methods are discussed in detail on the original Reddit thread and have been actively used from 2016 through to recent months.
Online Tools for Trimming Transparent Pixels — Comparison and Privacy Notes
If you do not have access to Photoshop, or you need to process a single PNG quickly, several online tools can trim transparent pixels with a single click. Here is a comparison of three popular options.
| Tool | File Types | Size Limit | Processing | Bulk |
|---|---|---|---|---|
| ImageOnlineTools | PNG, JPG | Not specified | Server-side (privacy unclear) | No |
| folge.me | PNG, WebP | 5 MB | Local browser (no upload) | No |
| triim.ca | PNG, WebP | Not specified | Local browser | Yes |
⚠️ Privacy Consideration folge.me and triim.ca advertise that all processing happens locally in your browser — your image data is never sent to a server. If you are working with sensitive client assets or personal designs, prefer these local-processing tools or stay entirely within Photoshop.
Batch Processing with Photoshop Actions
If you need to trim transparent pixels across dozens or hundreds of files — such as game sprites, UI icon sets, or product images — the Threshold mask method can be automated with a Photoshop Action.
Recording the Action
- Open one representative image.
- Open the Actions panel (Window → Actions).
- Click the New Action icon, name it "Trim Transparent Pixels," and click Record.
- Perform the steps: Layer → Mask → From Transparency, then Image → Adjustments → Threshold, set to 255.
- Optionally apply the mask: right-click the mask thumbnail → Apply Mask.
- Run Image → Trim → Transparent Pixels.
- Click the Stop button in the Actions panel.
Running the batch
Use File → Automate → Batch or File → Scripts → Image Processor to run your Action on an entire folder. The Stack Overflow community has confirmed strong interest in this automated approach for layered PSDs, though the Action works best on flat images or merged composites.
For designers who regularly cut out subjects and need a one-click export pipeline, the Layerbench plugin automates subject selection, mask creation, and trimmed PNG export from within Photoshop — useful when paired with batch operations.
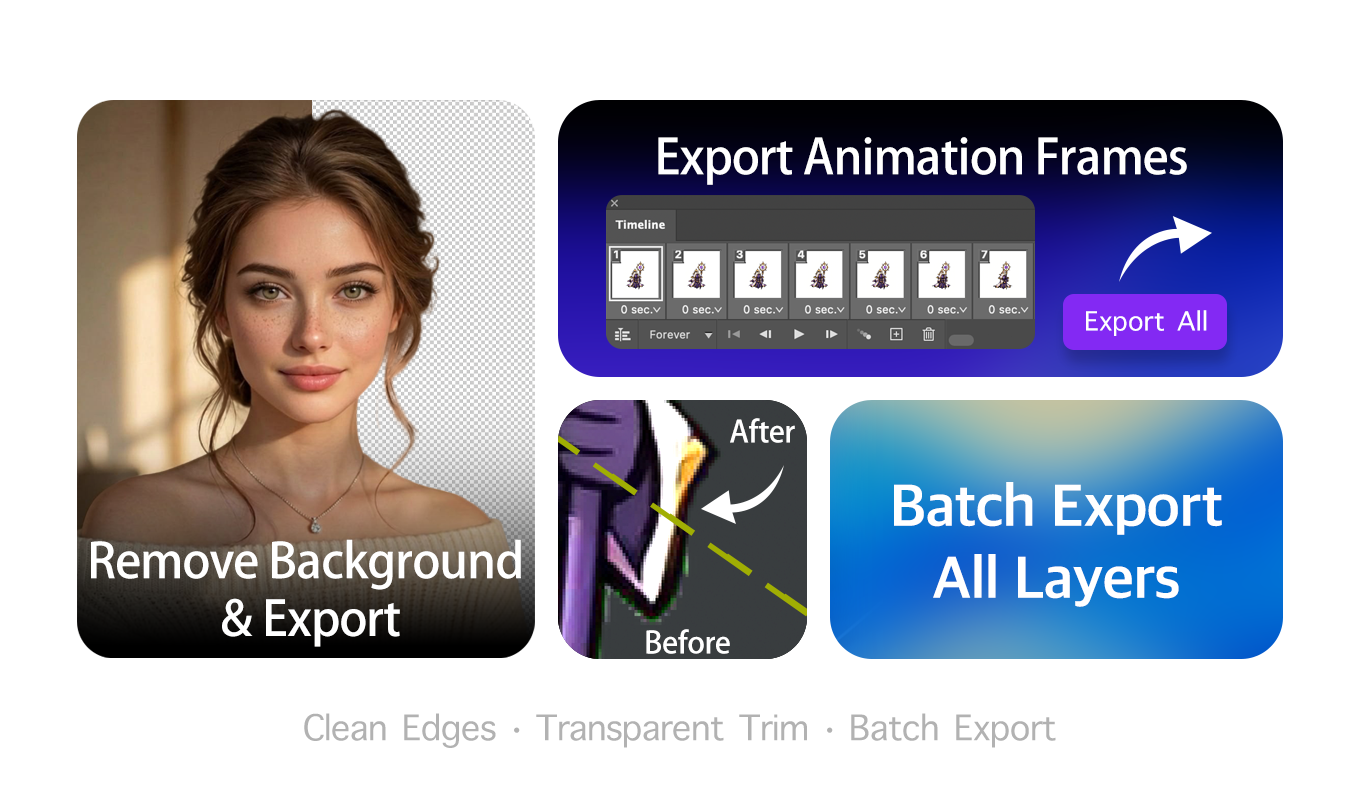
Layerbench — a separate Photoshop plugin: cut the subject to transparency and trim the transparent margins in one pass, then batch-export. If your edges still fringe, see how to defringe in Photoshop and how to smooth edges.
The Non-Rectangular Export Problem — When Trim Cannot Help
A less-discussed but significant limitation: Photoshop always exports selections as rectangular PNGs. Even if you have a perfectly cut-out subject on a transparent background, the file is saved as a rectangle padded with transparency. The Trim command only crops to the outermost opaque rectangle, not to the shape of your mask.
⚠️ Real-world consequence An Adobe Community member building an interactive audio trigger found that the transparent padding made the entire rectangular area clickable — not just the irregular shape of the visual element. The Trim command could not solve this because the mask shape was not rectangular.
Partial workarounds
- Convert your selection to a path and export as SVG — vector files have no transparent padding.
- Use a script that calculates the exact bounds of the mask and crops the canvas to that bounding box (requires third-party tools or manual path work).
- Accept the rectangle and handle the clickable area on the web side with
clip-pathor an image map.
As of 2026, Photoshop still does not offer a native one-click feature to export a PNG trimmed precisely to an irregular mask outline.
Photoshop Elements — Missing the Trim Command
Users of Adobe Photoshop Elements (version 17.0 and later) have confirmed that the Image → Trim command is not available. A community forum topic from 2018 documents the missing feature.
✅ Alternatives for Elements users The keyboard arrow trick (Select All → right arrow → left arrow → Crop) works in Elements because it relies on basic selection mechanics. The online tools listed above are also viable, especially folge.me which runs entirely in your browser with no installation needed.
When Each Method Is the Right Choice — A Comparison Table
The table below summarises every method covered in this guide, helping you pick the right one based on your specific image type, workflow speed, and automation needs.
| Method | Best For | Key Drawback | Automation |
|---|---|---|---|
| Native Trim (Image → Trim) | Quick single-layer PNG with full transparency | Fails on semi-transparent / anti-aliased edges | Yes (Action) |
| Threshold + Mask | Hard edges for icons, sprites, pixel art | Permanently removes anti-aliasing | Yes (Action) |
| Flatten + Delete (anti-aliasing off) | Images on a known solid background | Destructive; loses transparency | Partial |
| Duplicate layer stacking (Ctrl+J) | Quick fix for tiny semi-transparent areas | Imprecise; can over-solidify edges | Manual |
| Arrow key trick (Select All → → ← → Crop) | Fastest fully transparent edge trim | Only works if edges are fully transparent | Yes (Action) |
| Online tools (folge.me, triim.ca) | No Photoshop, quick bulk, low-stakes images | Privacy risk on some; file size limits | Built-in (triim.ca) |
| Batch Action (Threshold + Mask) | Processing many images with the same edge problem | Requires initial recording; single-layer only | Full automation |
Final Caveats — What This Article Does Not Cover
While this guide covers a wide range of trimming scenarios, some cases remain outside the scope of a clean one-click solution.
- Layered PSDs with many layers: The methods above primarily work on single-layer images or flattened composites. Trimming individual layers inside a complex PSD requires either merging visible layers or applying layer-specific masks manually. A Stack Overflow question confirms the demand for a layered workflow, but no native solution exists as of late 2026.
- Non-rectangular shape export: As discussed in Section 7, Photoshop cannot export a PNG trimmed precisely to an irregular mask outline. SVG export or web-based
clip-pathare the only clean workarounds. - Online tool privacy: Always verify whether an online tool processes locally or uploads to a server. For client work, stay in Photoshop or use a verified local-processing tool.
- Photoshop Elements users lack the Trim command entirely; rely on the keyboard arrow trick or the online tools listed above.
- 16-bit or multi-channel documents may not accept all layer mask operations. Convert to 8-bit before using the Threshold mask method for reliable results.
This marks the boundary of what current Photoshop tools can do for trimming transparent pixels. For edge cases beyond these — particularly true irregular-shape exports — the solutions currently depend on vector formats or third-party scripts.